Monday, 12 September 2016
The Snazzies: Slinkies Cinema Seat
Hey Catherine,
Its been a while since I have posted on here but I think we have gotten to a place where the old will do us a favour... Besides I do miss doing the odd blog post, its kind of become a part of me. Anyway this post is about how I see the Slinkies sitting in our infamous cinema scene. I started by making a basic chair but then I had an idea... I still want them to sit even if its a lean... Lets go through the little journey.
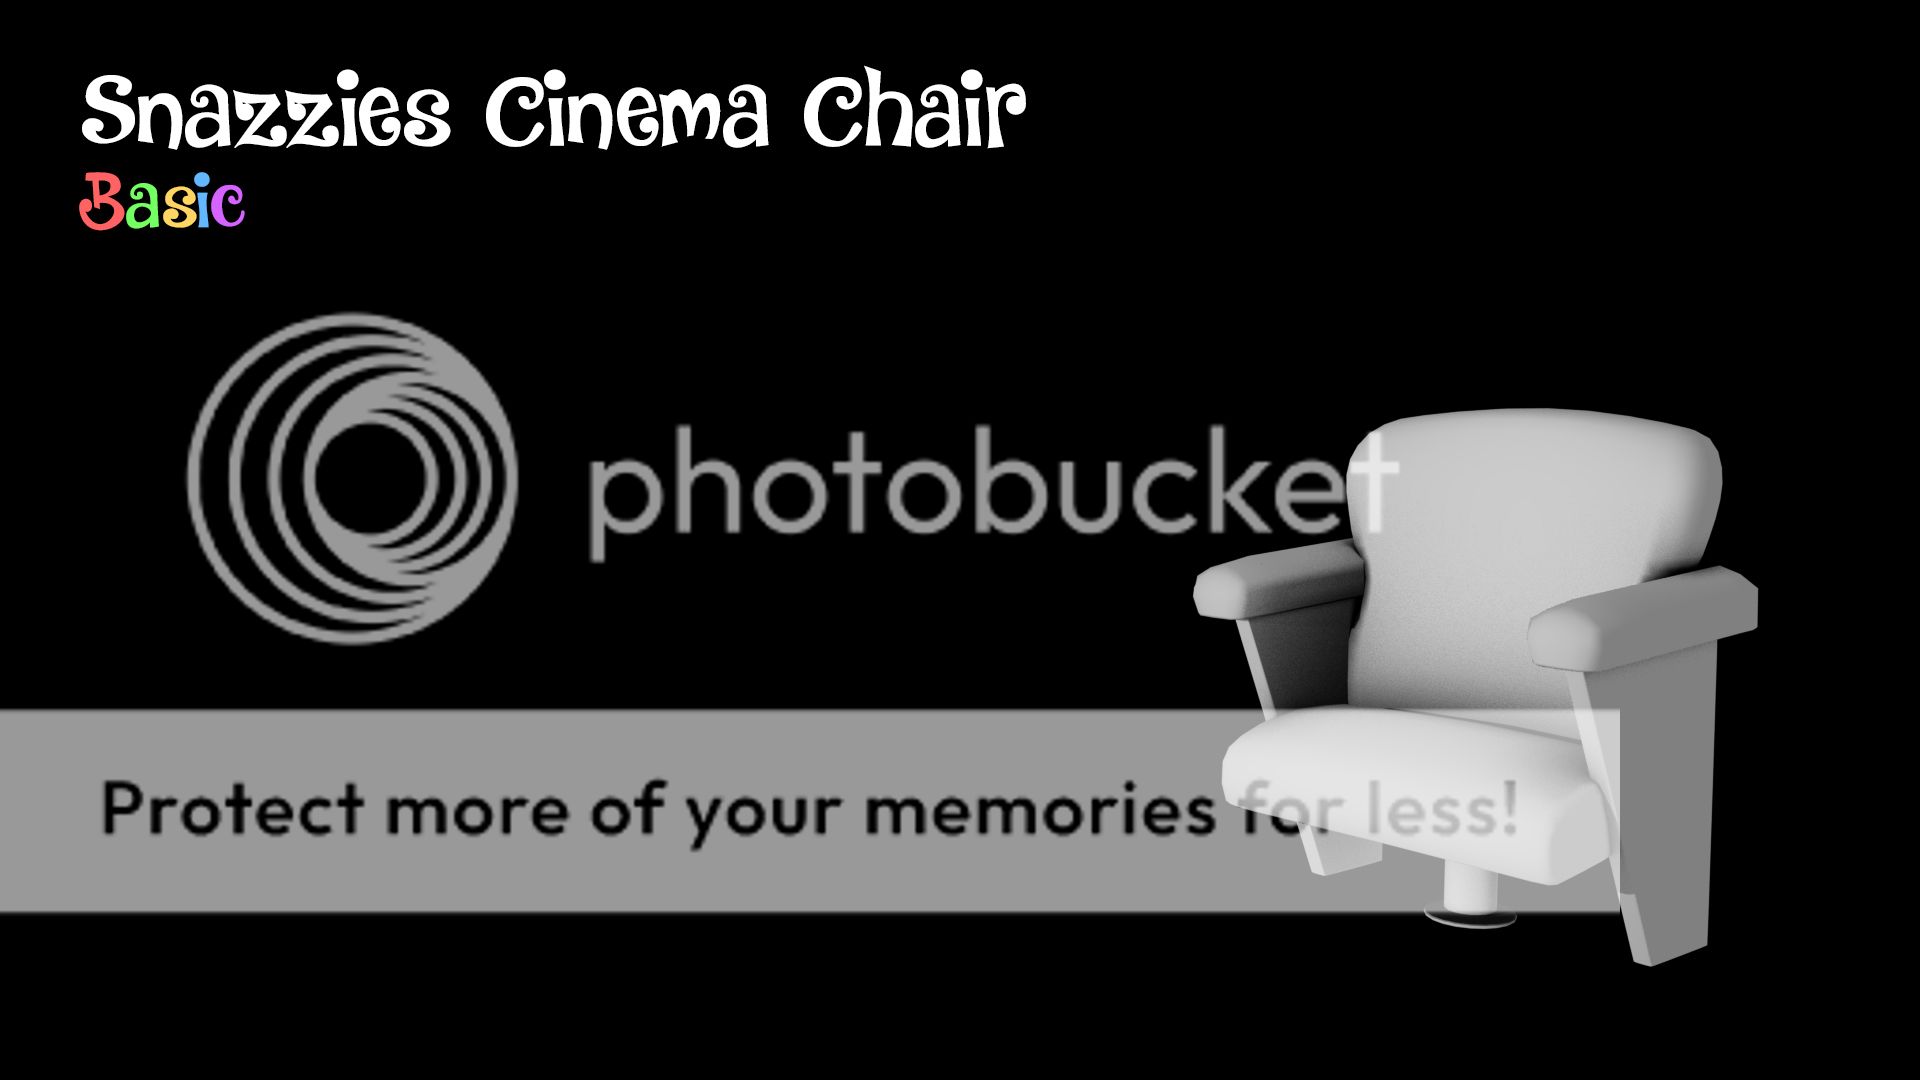
The image above shows the basic chair... it started as a port from our cinema scene but I cleaned the geometry up smoothed it and changed a few bits here and there to make it more like a cinema chair. Long story short its no longer low poly. It looks okay but then I had a little bit of an epiphany when trying to sit the Slinkines onto it (causing their dresses to bunch and look quite crap). I defer your attention to the next image.
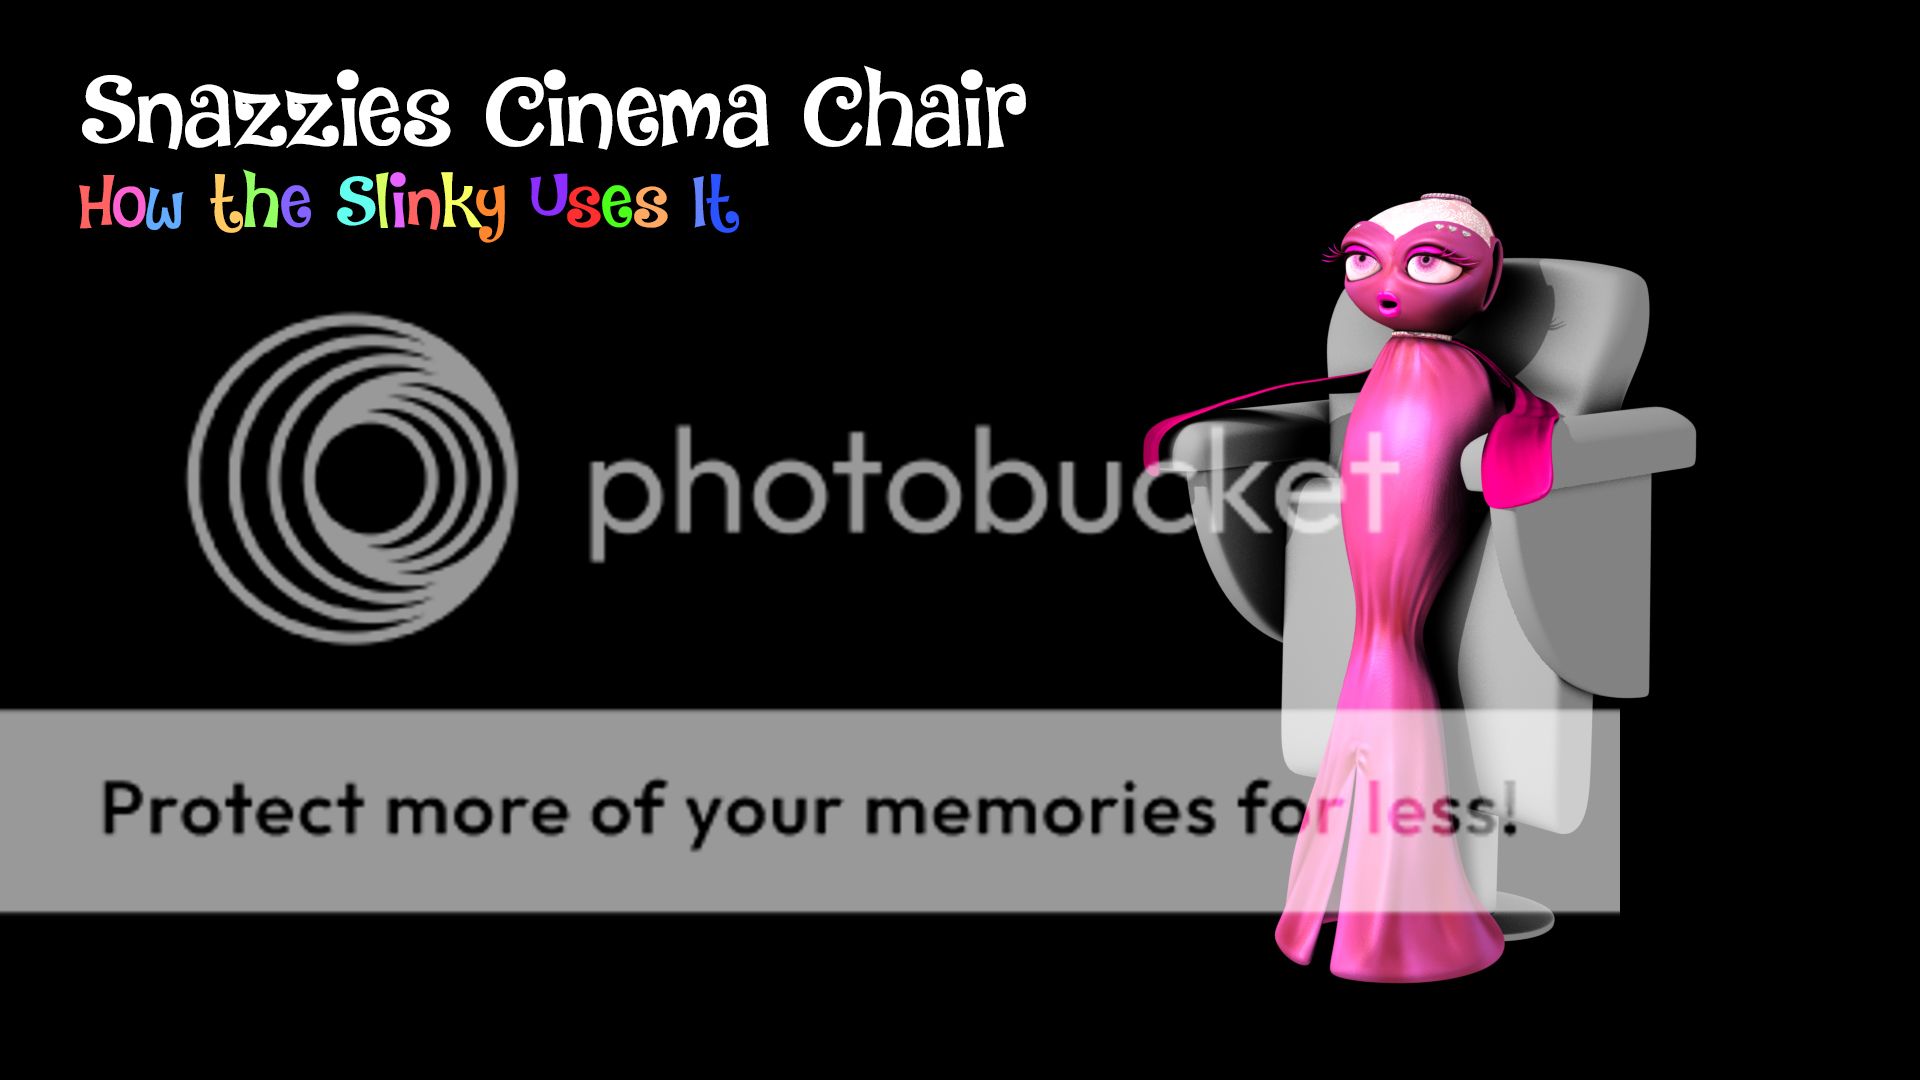
Make the chair folded (as it would be if it wasn't in use) this creates a little ledge for the Slinkies to lean into allowing them to stand and sit/lean slightly on the little ledge of the upper seat. It also works quite well with scale (if a person was in the dress it would be right). In my mind this would work perfectly for this but I wanted you to see my thought process... We need to start this somewhere... and guess what we have started.
For the above image I sat Sparkle in the chair and did a sole render with a basic light setup and some ambient occlusion in the chair to give it a little depth. Obviously the chair would have some basic texture but I did this just so you could see how the Slinkies would use these chairs. I hope you like this it provides us a perfect opportunity to "seat" the Slinkies without them looking rubbish by bending them over too far.
I did a small pose for each slinkie in their chairs I don't see the range of movement going to the feet but we can do quite a range in the upper quadrant of the body as you can see from these 3 test renders. Obviously to situate all 3 I am gonna have to play with the lighting a little more but one at a time we can stick to a basic setup. Next I will put them in a basic scene with a floor and a back wall... Ill knock up a basic telly in case we need it.
Anyway I hope this is a good idea... I am going with my gut here and my gut loves to have some logic to grab onto. In my opinion fantasy works better if there is some logic to it... it almost makes things more believable. Hope you enjoyed the post.
xXStItChXx
Friday, 28 August 2015
The Snazzies: Saggy Hitch & Rocko BG Poses
Hey Catherine,
I thought I would finish this thought with a little post just so you can show any passers by with ease the poses in action. I thought I would keep this just for the textured versions only mainly this is to show what I can do beyond the initial pose concept. Anyway I created these textured versions with a simple background and in some places added some sheen or drop shadow. Its essentially making renders into concept art.
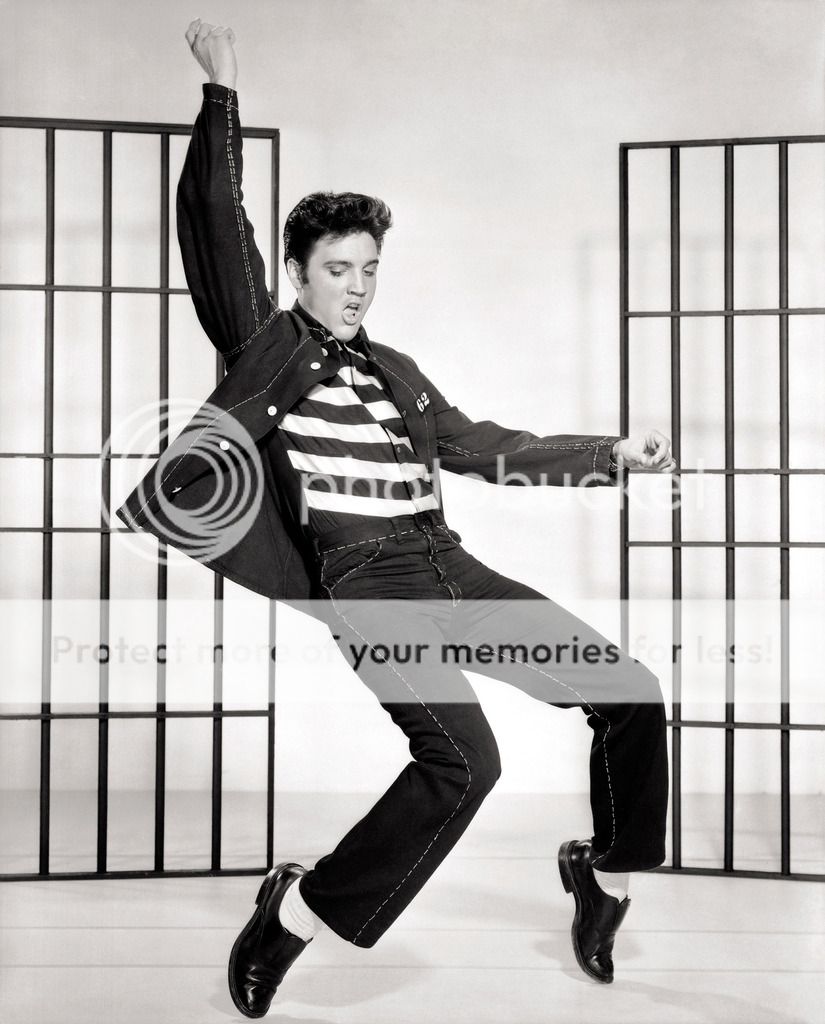
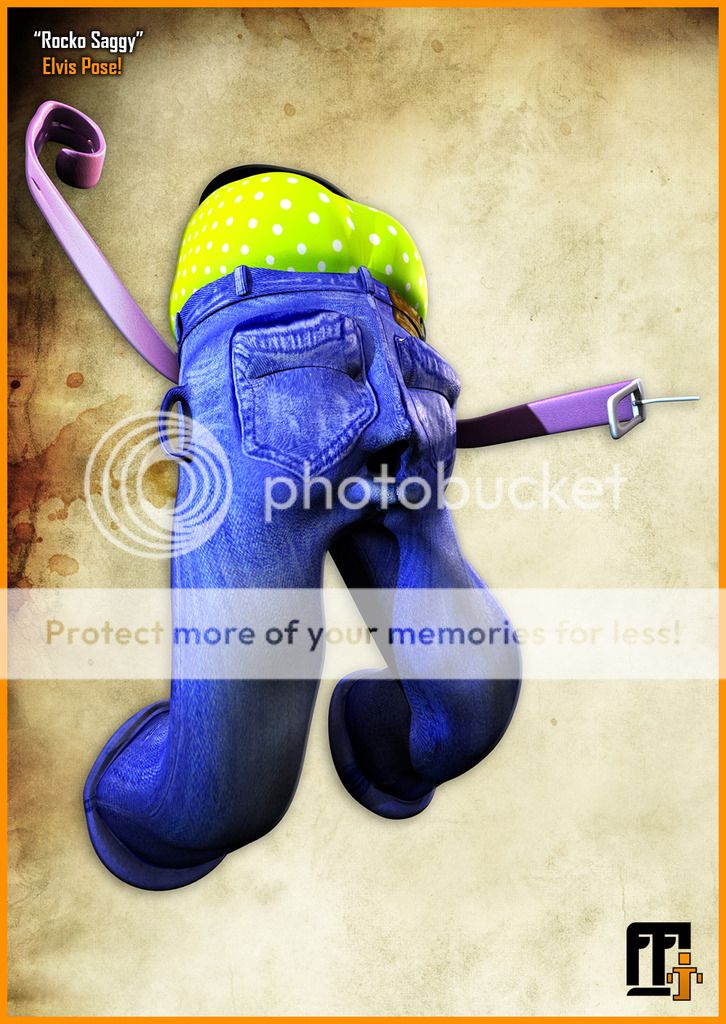
The first pose is a Spanky Elvis jump pose. In the Saggies case I had to elevate the legs a little more to get the knee bend I wanted. This makes it similar to the original reference. I created the closed fist in the right hand by coiling his belt arm. The closest leg is at the end of its foot roll capacity as is Elvis's in the reference. Elvis's eyes are also looking down/closed closest I could get was closing his eyes.
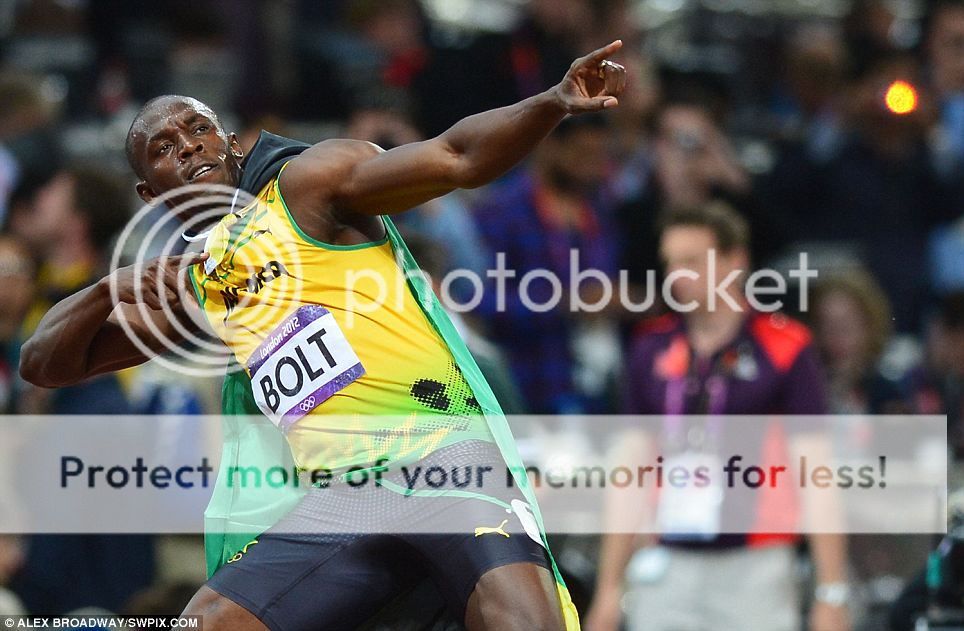
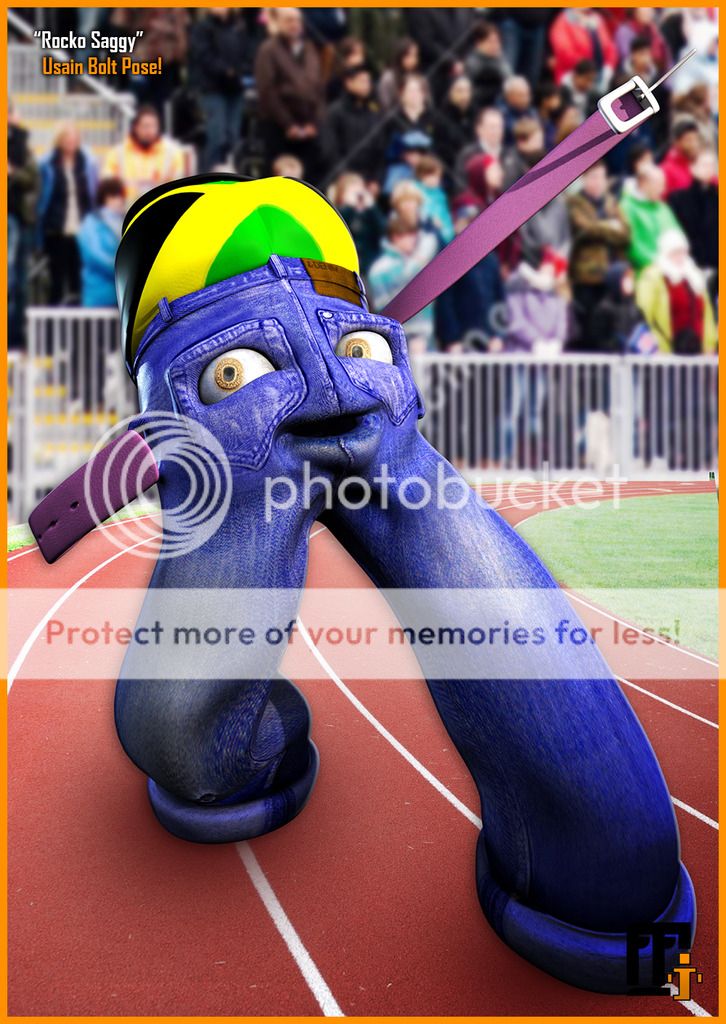
The second pose is based on the Olympic athlete "Usain Bolt". The difficulty here was finding the correct orientation for the waist and trying to simulate that within the constraints of the Saggies belt arms. I also wanted the arms to line up in the shot which meant moving the composition of the shot to fit the correct pose angle. The arms as always are a difficult thing to navigate due to their gradual default rotation.
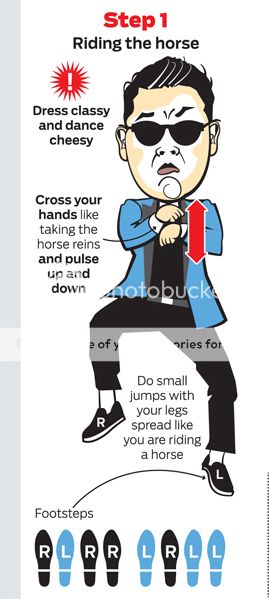
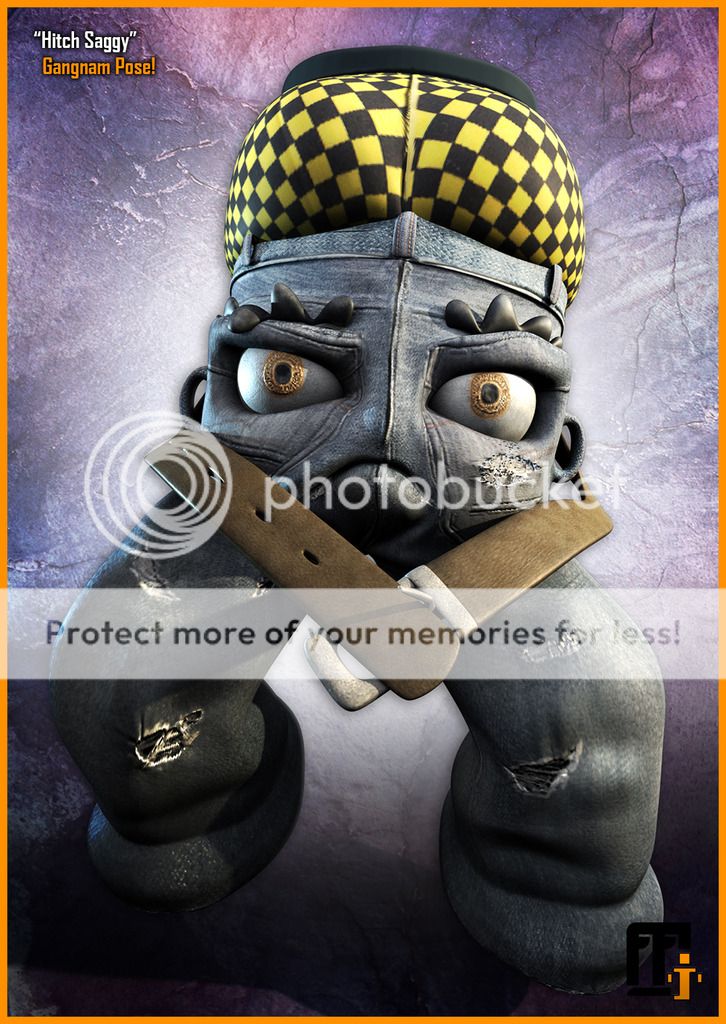
The third pose is based on the internet sensation "Gangnam Style". This pose pretty much fell into place until I got to the length of the belt arms. It might be recommended in the future that we come back to give the arms additional functionality. The pose required close examination of the arm rotations. I adjusted lighting and texture detail of this pose within Photoshop to make it punch out beyond the basic Maya mental ray render.
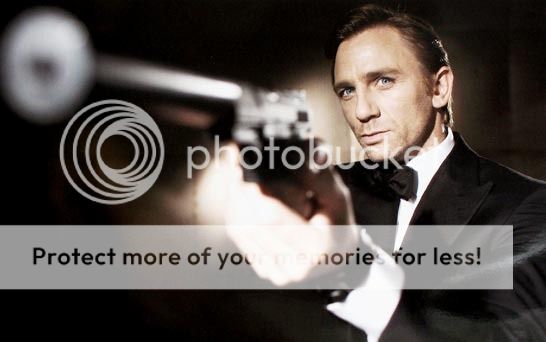
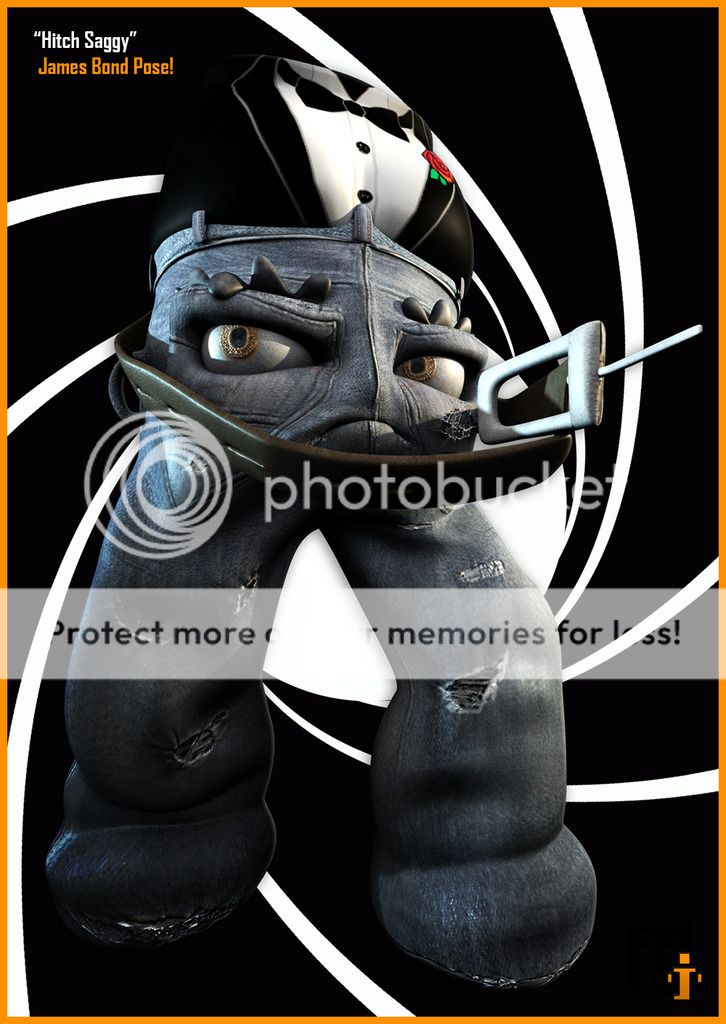
The fourth pose is... you guessed it "James Bond". This pose was relatively simple to create with the main issue being the arms eclipsing the Saggies face. In order to angle the gun exactly like the reference the arms would cut the face from the shot. Instead I opted for a lighter touch to keep the face a pivotal part. The background was dropped in from a google image search. The tux underwear was added as a gimmick after the bolt image.
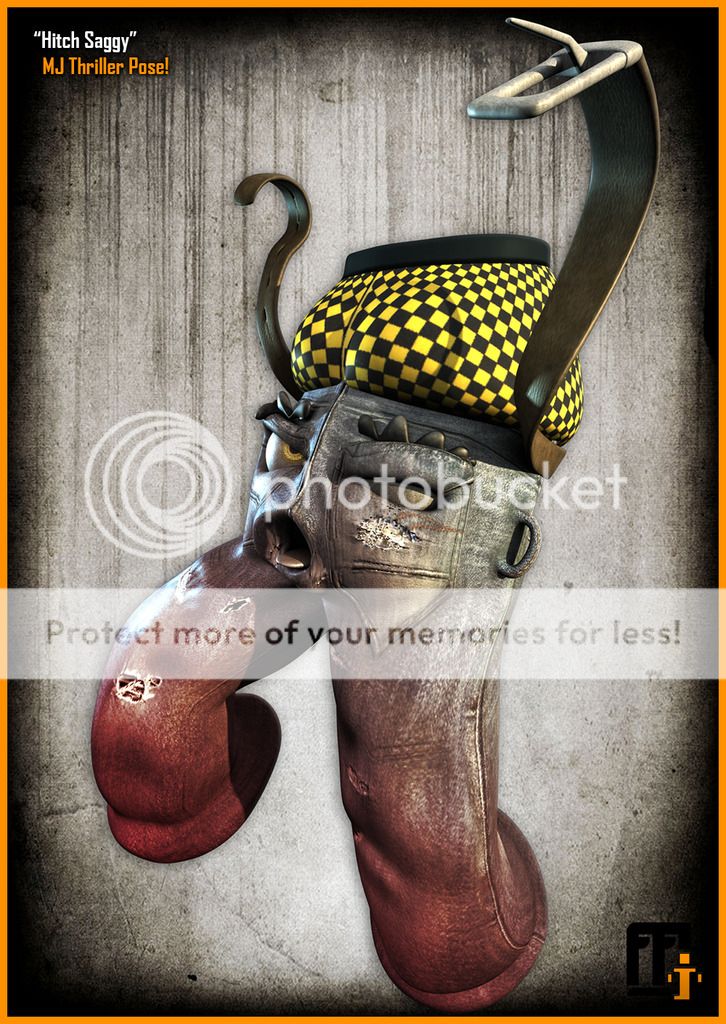
The fifth pose is Michael Jackson's thriller zombie pose. My only concern with this pose is it might be a bit more zombie then an iconic Michael Jackson pose, that being said its still a valid idea. The difficulty here was once again with the arms which I had to temporarily lengthen to achieve the desired result. I moved one of the eye controls out of sight so it would look like he was missing an eye. I also utilized his tongue.
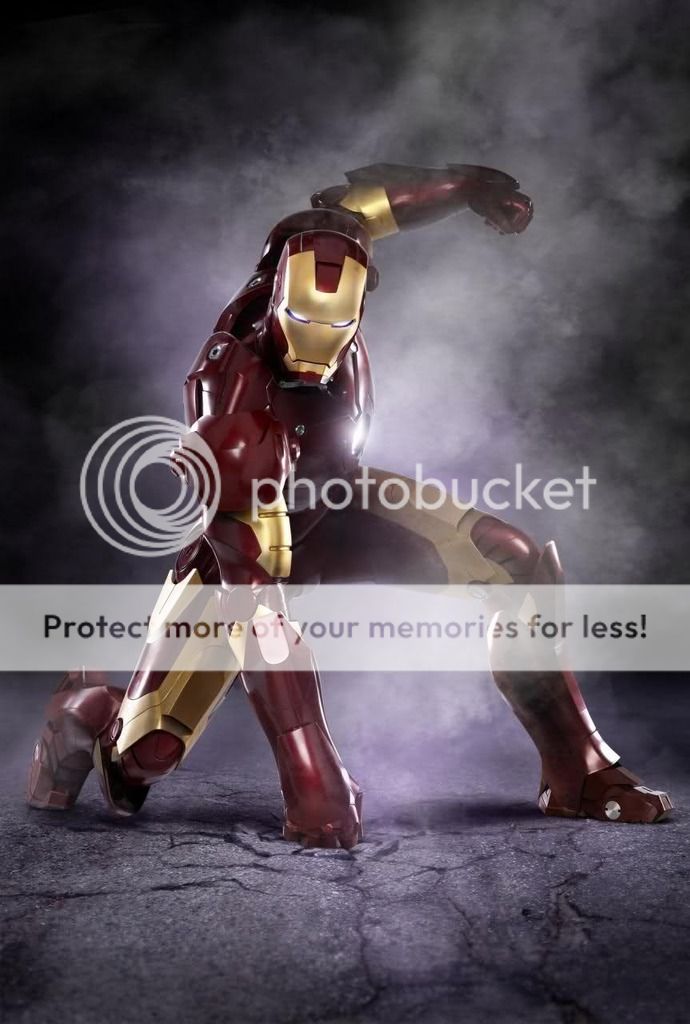
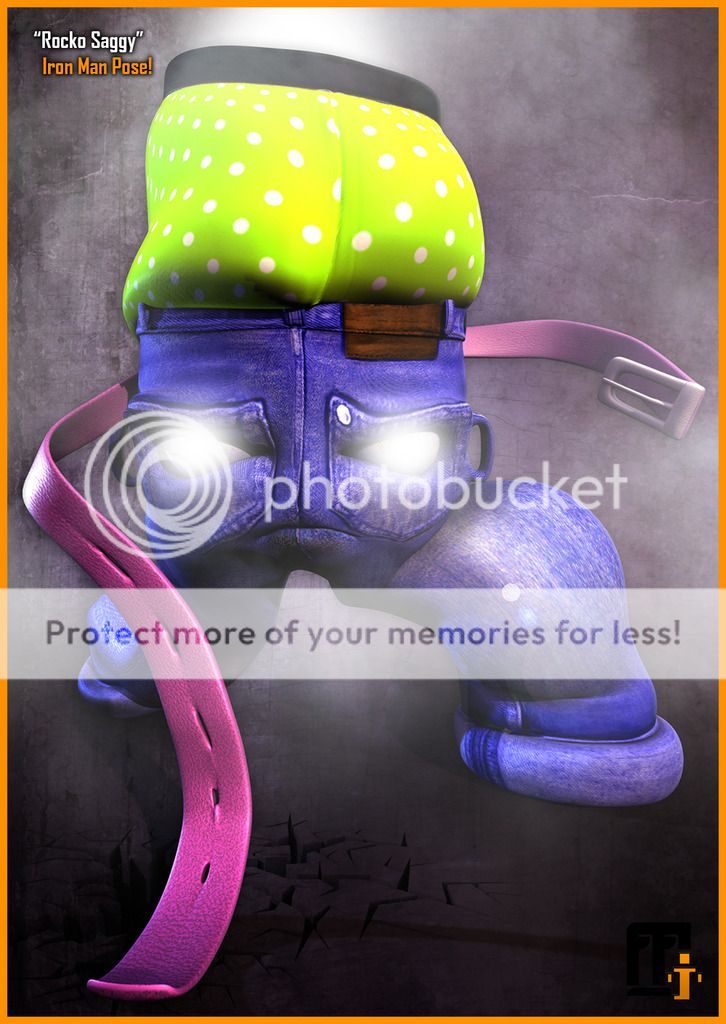
Last but not least is the Iron Man Pose. My only concern with this one is I believe I turned the belt arm the wrong was so it doesn't look like a fist impacting the pavement. There was a lot of retouching done in Photoshop particularly the smoke effects and eye auras. I did my best in a brief time to imitate the details in the iron man reference. There was a difficulty moving the back leg into the correct position while keeping the knee bent.
I hope that you like these Catherine, I did have a bit of fun making them I have to say. Lets hope the group shot we do when we meet will come together just as well. I think the boxer costumes could work from time to time, just food for thought.
Ill talk to you later!
xXStItChXx
![]() | ![]() |
![]() | ![]() |
![]() | ![]() |
![]() | ![]() |
![]() | ![]() |
![]() | ![]() |
xXStItChXx
Saturday, 22 August 2015
The Snazzies: "Rocko" Saggy Model Complete
Hey Catherine,
Well we are at the very last Saggy "Rocko" and I have to say it feels like forever ago we started this its been quite a journey ha-ha. The characters are all very appealing and seem to have their own quirks which is great. We will continue to communicate this on the animations but even and a very basic level they are their own characters which is great. Its not easy to make the same kind of mesh unique so its good to feel that.

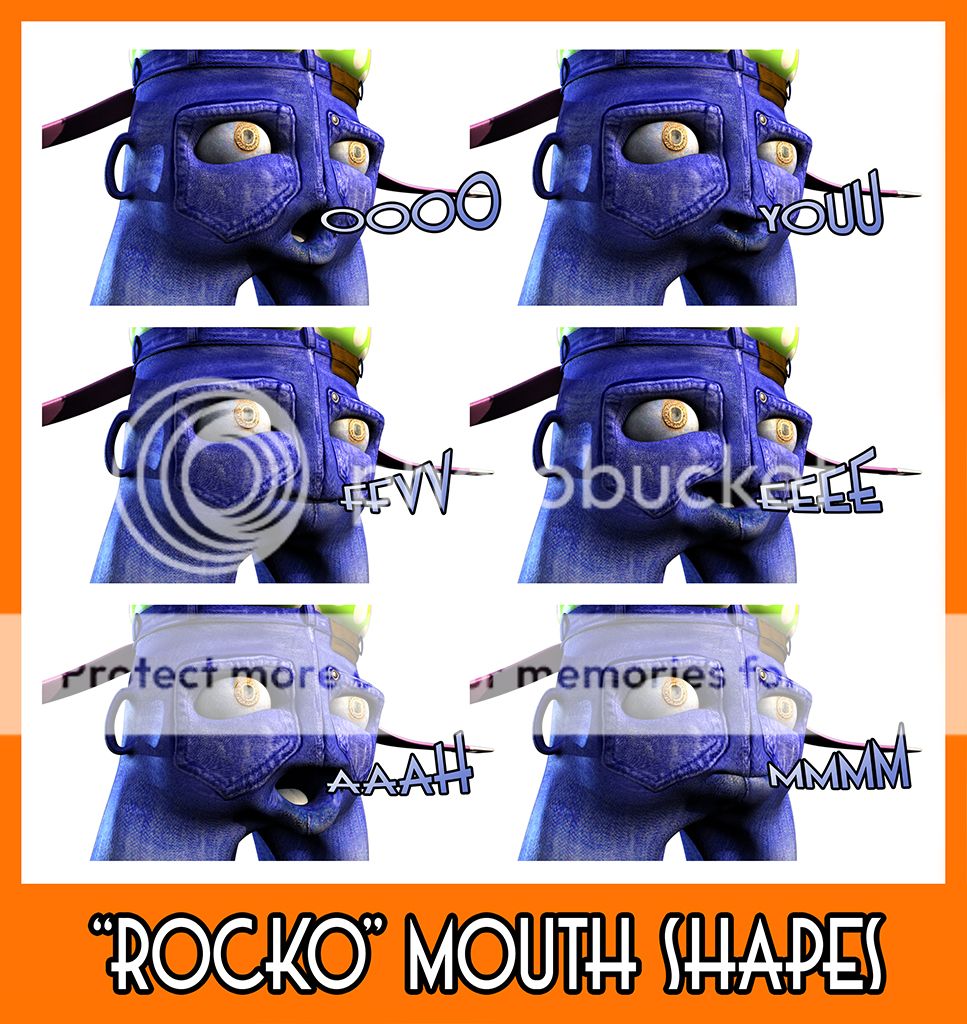
The mouth shapes above again communicate the vocal phonemes the character will be using to talk. I have tried to separate them slightly but there were some which have to remain very basic to communicate accurately. Again I won't know for certain if these work without testing them with audio. I plan to do that before we get stuck into the animation. Its best we find out before we are knee deep in an animation so I will get that going next.
The video above are Rocko's expressions. There was a slight issue with his default mouth being so close to a smile already. This is why its always best to use a standard bored expression as default so then you can turn on happy. You may wish for us to create a "standard" mouth shape so you have that option. I know Ross did it so the character would be different but everything starts with boredom you can create a range of expression after.
Last but not least is the Rocko motion test. I worked a little harder on this one trying to finesse the movement a little more within my 100 frame boundary. I couldn't though (I went 10 frames over). This is why the motion is fast, I was trying to do more with less. Still its pretty fun to see him moving a little more realistically. I worked harder on this one then the basic initial "Tim/Hitch" and a more then "Stitch" too. I hope you like it!
Well that brings the Saggies to a close for now.
3 down!! We are nearly there!! xXStItChXx

3 down!! We are nearly there!! xXStItChXx
The Snazzies: "Stitch" Saggy Model Complete
Hey Catherine,
Okay the Stitch Saggy is complete from my end I hope it is acceptable and I would like your confirmation via email that all is good with it. I have essentially duplicated the same videos and image for each Saggy so you can give an accurate approval of the work carried out. We like to know that you are happy with the results so we can move forward with the next steps. Apologies for the crude animation its just test movement.

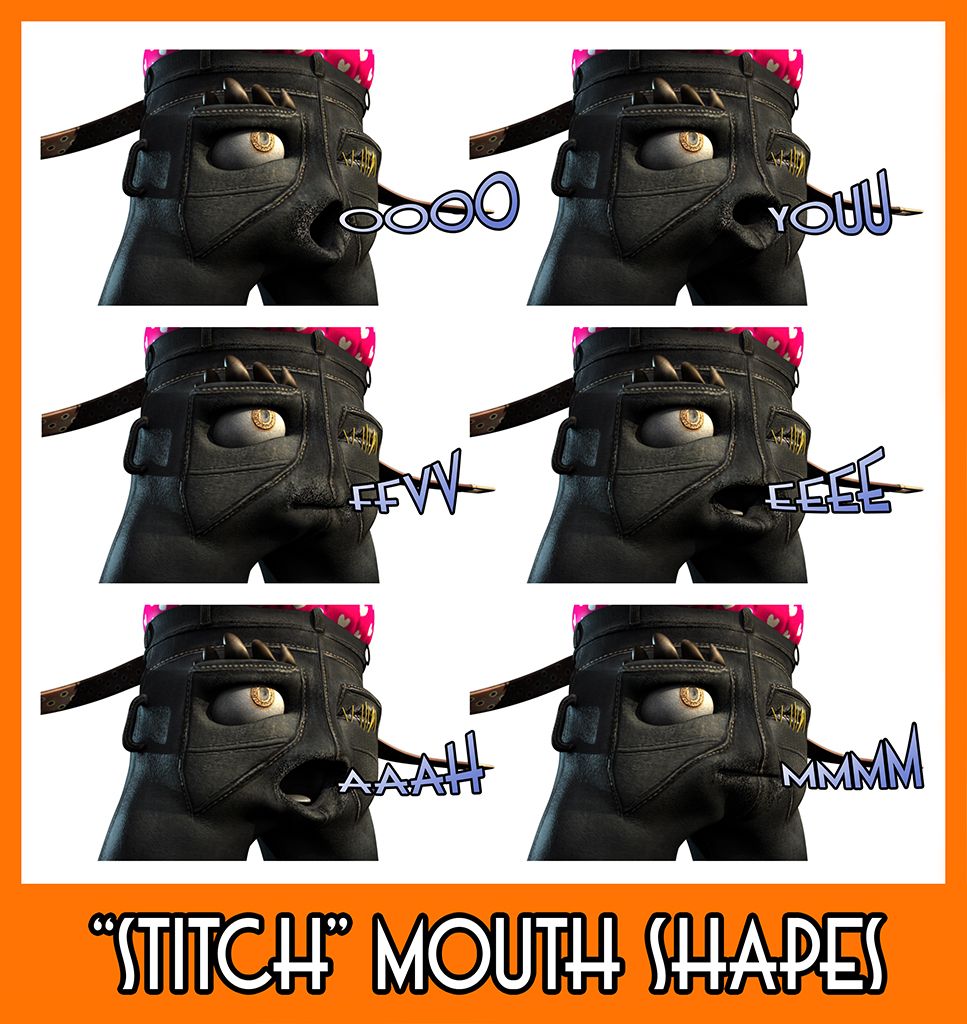
The image above are Stitch's phoneme shapes which may slightly vary across each Saggy as to individualise them. This was one of the reasons me and Ross were hoping to divide them so each would be unique so instead I had to simulate it on my own. Again I hope these are all acceptable. They were not a quick job as I'm sure I told you Stitch has a little problem but we can navigate around it so don't concern yourself, we know what we are doing.
The next video is some expression roughs as before. There is a slight issue with the Sad expression and the eye blink. You can get this on occasion with face shapes sometimes you exaggerate the expression and it eclipses the boundary of another control. I'm hoping it wont be an issue but if for whatever reason it does we will be ready to create an alternative sad brow/eye shape. Other then that everything has gone smoothly so onwards!
Last but not least is my run of the mill 100 frame movement test. Apologies for having to make the frame counts so brief but it takes literally an entire evening just to get 100 frames. I just want these videos to demonstrate the potential of the character. You will see that more as we get stuck in to the animation going forward but this is just for your confirmation of the characters as they are. Confirmation is how I gauge our success.
I hope you like these posts (1 more Saggy to go!!)
2 down!! Woop Woop!! xXStItChXx

2 down!! Woop Woop!! xXStItChXx
Monday, 13 July 2015
The Snazzies: "Tim" Saggy Model Complete
Hey Catherine,
*Drum Roll* Okay this is the concluding chapter to Tim's development cycle. Its been a long journey with this guy but now I think he is at a place where I am happy and I'm sure you will be too. There are a couple of final updates to post on here just to "complete the thought" but for all intensive purposes he is now "Complete". I hope you enjoy this post so without any further ado I give you the completion of "Tim".

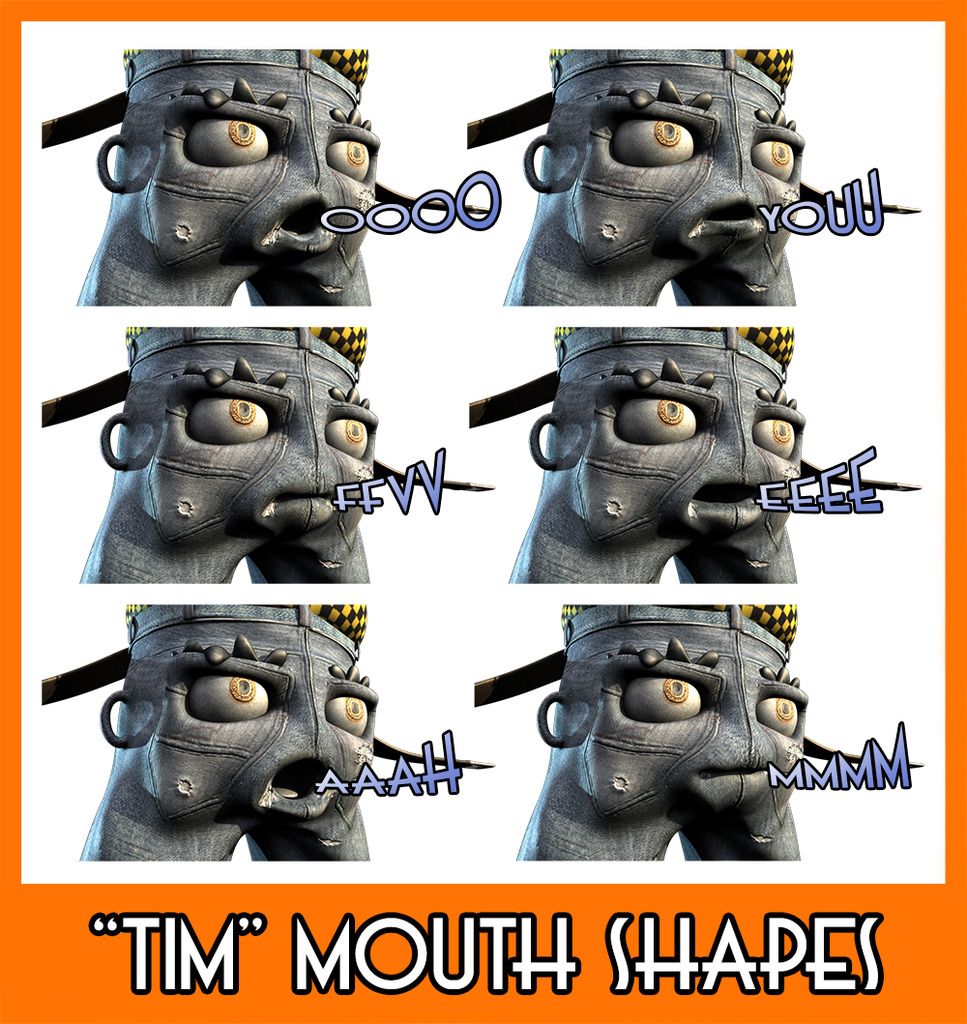
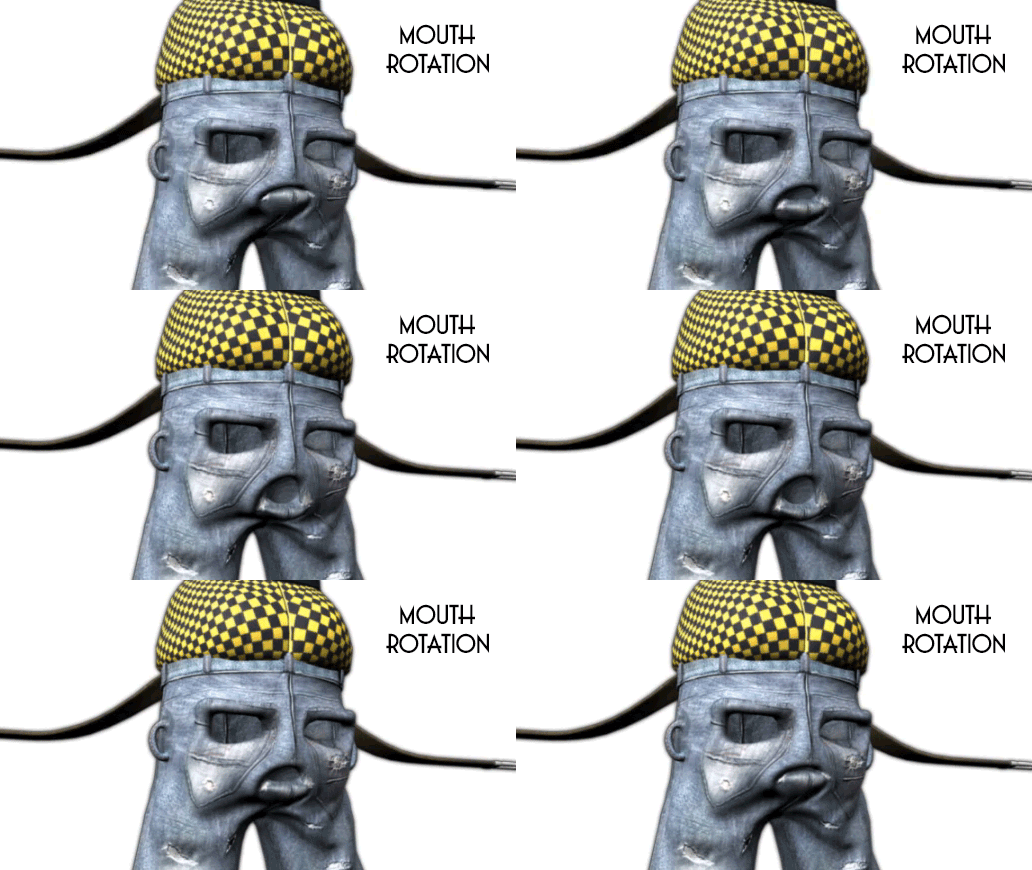
The image above shows the mouth shapes for the "Tim" Saggy believe it or not these cover most of the mouth movement of a standard CG character. You also mix and match these mouth shapes to get different results. My CG Arts teacher only ever used these to create phoneme movement. Anyway I thought you'd want to see them in all their glory. I didn't animate any videos to them but I think the pictures give you the idea.
The video above is a quick run through "the basic 3" facial emotions package on the "Tim" Saggy. I recall telling you over the phone that these are the 3 that are covered by the fee you paid (Angry, Happy & Sad). If you need any more expressions beyond these there will be an additional fee per expression. For the beginning stages though I am sure you are happy just knowing that the characters are starting to be completed.
Last but not least you have another small (quick and full) animation of the Tim Saggy moving through expressions as he gazes around. Please forgive the speed of the animations I made these less frames in order to get them rendered by the end of business hours Monday. Tuesday I want to get cracking on the "Stitch" character which Ross has started just to get that one rolling. I am aiming to have Stitch done by the end of this week.
Anyway I will provide this post link and the link to your model in the email I send.
1 down!! Woop Woop!! xXStItChXx
Thursday, 9 July 2015
The Snazzies: "Tim" Saggy Baby Steps
Hello Catherine,
Apologies for the delay in getting a message over to you I know I said to you I'd have "Tim" done the day before yesterday but there have been a couple of hurdles. The minute I started moving forward onto the eye blinks the model went weird. I spent an entire day trying to correct it myself, when I couldn't I consulted a specialist (who I know from Uni days) and thankfully he fixed it today. I will continue and hopefully finish Tim tomorrow.
In the meantime -

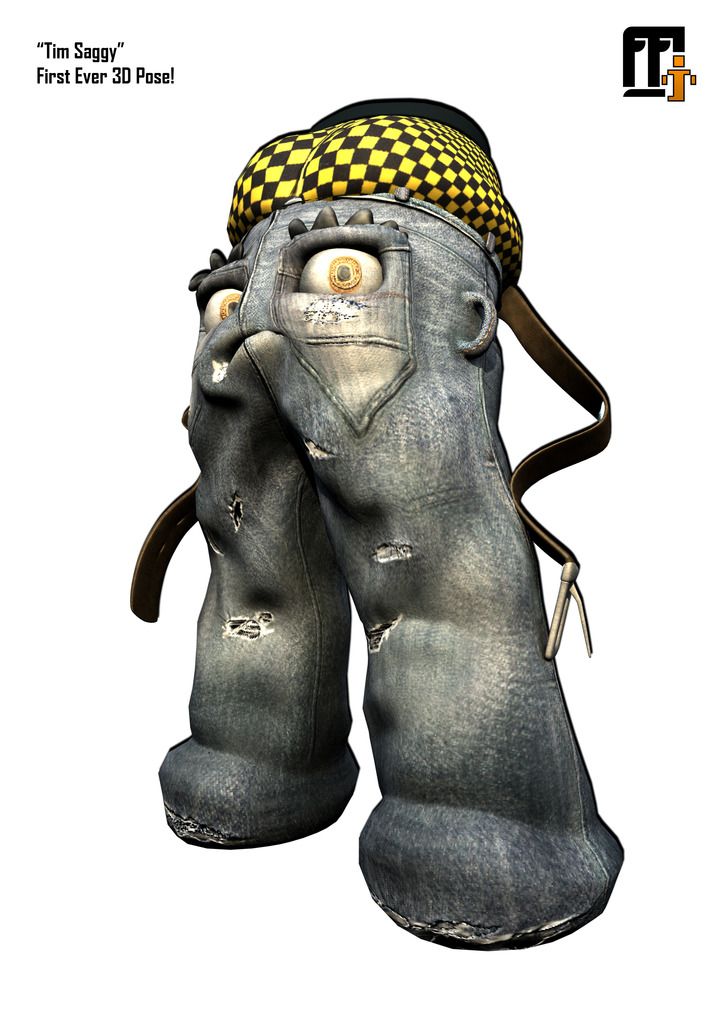
I think you will agree that we have made it pretty much through and I think you will concur that this render is as sharp as it can get. This is with a basic 2 spot light setup (the same I have been using for all decent looking renders). This rendition is full A4 so you can actually download this and print it without losing any resolution. I thought it was time that I gave you a workable image while the rig is still taking its final steps.
The video above is the stress test render I conducted which took roughly 11 hours to render (7 seconds in total) but I thought I had kept you in suspense enough its now time to see the little guy move. I have showed it to Ross and to his aesthetically high standards he said it looked simply "amazing" which I do concur ha-ha. The animation in the video is crude its just control tests don't worry future animations will be better.
The second video (Brief walkthrough) is something I advise you watch if you want some more technical know-how. This one is totally aimed at you Catherine so check it out some time if you want to know how we will be animating this guy using "controls". I kept it brief and down to 10 minutes I realised that up until this point you hadn't seen Maya (our animation package) so it gives you a little look around how the future will be looking!

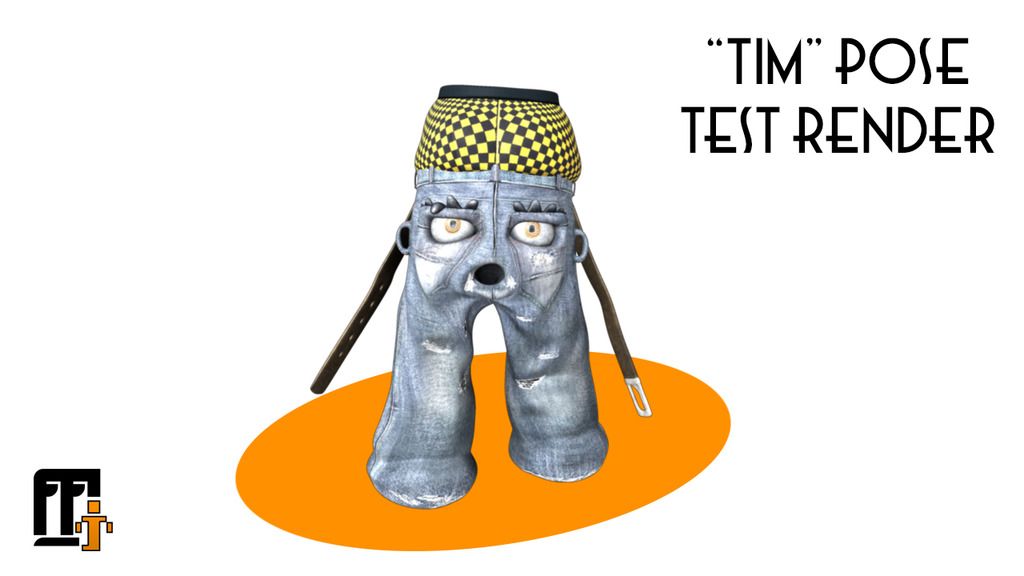
I thought I would finish the thought with another little pose which I knocked up while rigging I thought you'd get a kick out of these. Once he is fully rigged knocking up poses for your various presentations will be easy. After the rigging is complete on this guy I will get him over to you and I am so sorry its taken even longer. Luckily its fixed now so hopefully tomorrow night I will be sending him over... then fixing the next lol.
I hope you enjoy the post!
xXStItChXx
xXStItChXx
Thursday, 2 July 2015
The Snazzies: "Tim" Saggy Skinning Complete
Hey Catherine,
Apologies on the delay of this as I told you on the phone there were extra difficulties due to the nature of the rig. This is not a normal set of principles so I felt my way through this one. BE WARNED this post is going to be a bit technical in nature so please wear your crash helmet and protective cup! The good news is I only have to finish the rigging and get some face shapes and your good to go! Please click any of these to enlarge.

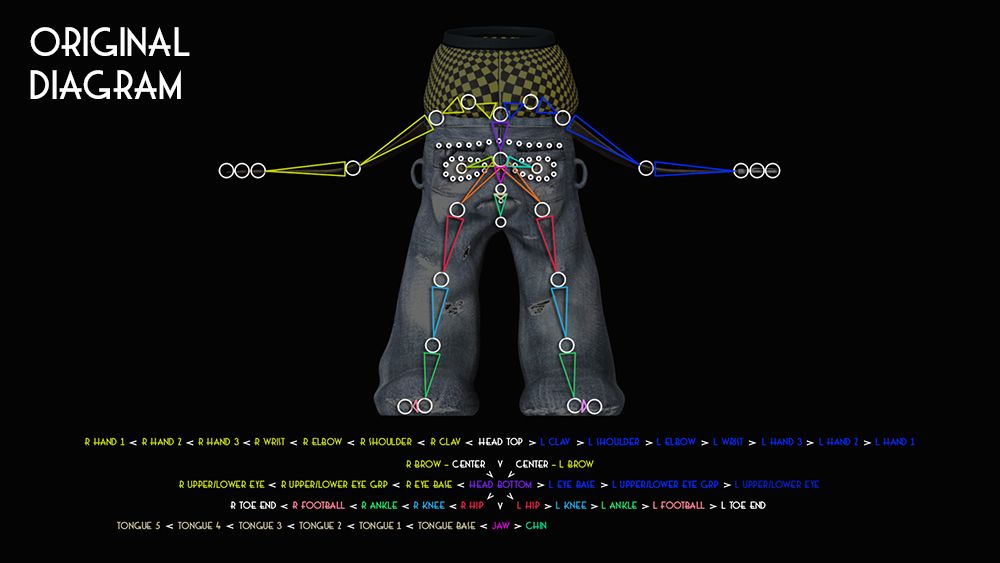
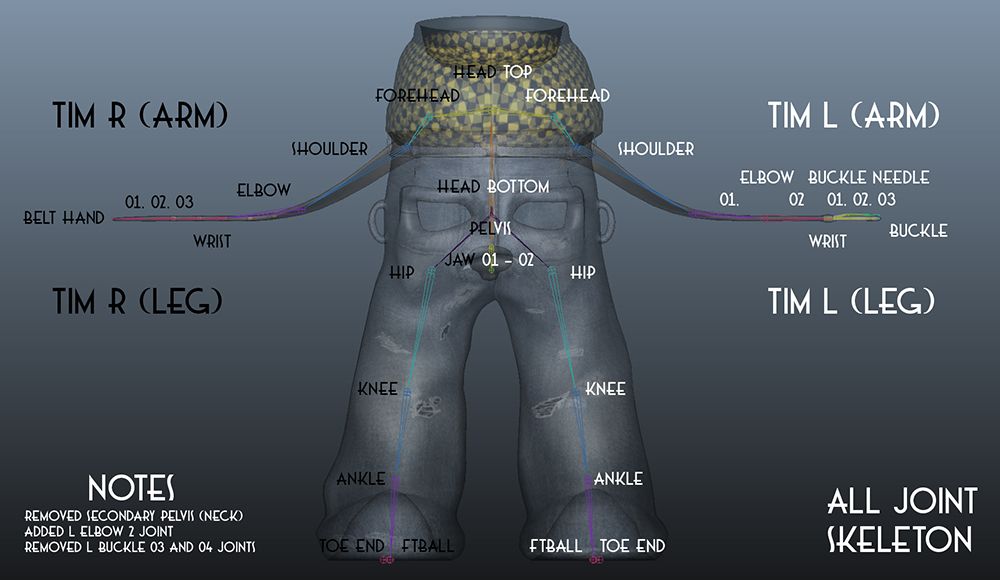
The image above shows the original Saggy diagram I knocked up after my initial attempt (which resulted in failure). This surprisingly wasn't far from the mark the main issue was the arms because the belt is a little twisted. There were also unnecessary joints which I removed as I went along. We also added a joint in where the left side arms connect just to give a little extra twist in the rotations of the left hand belt.
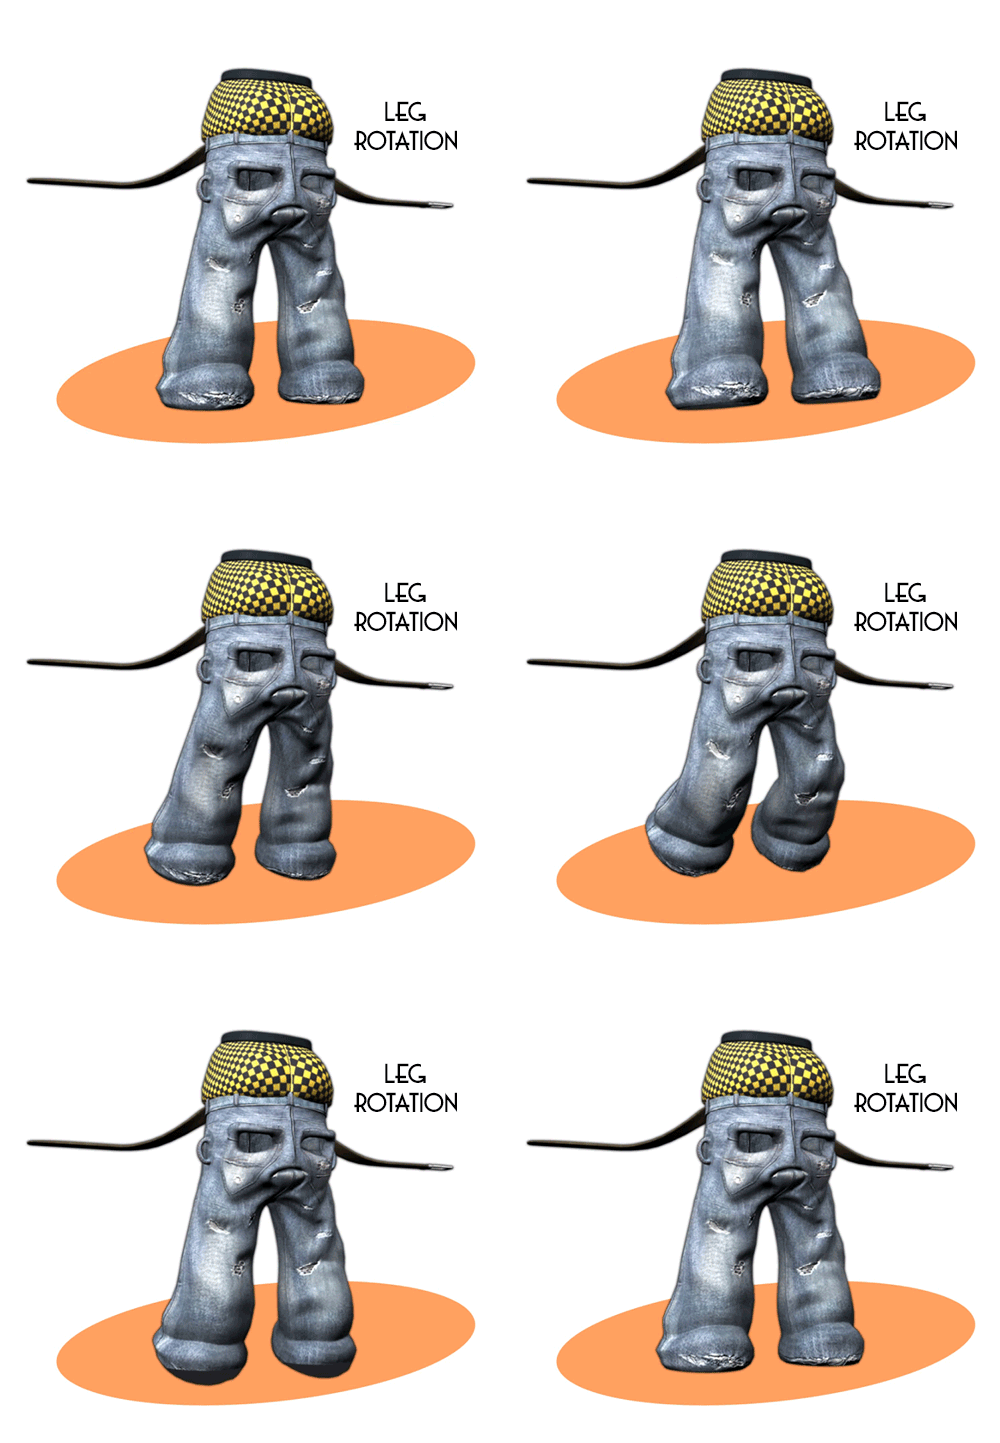
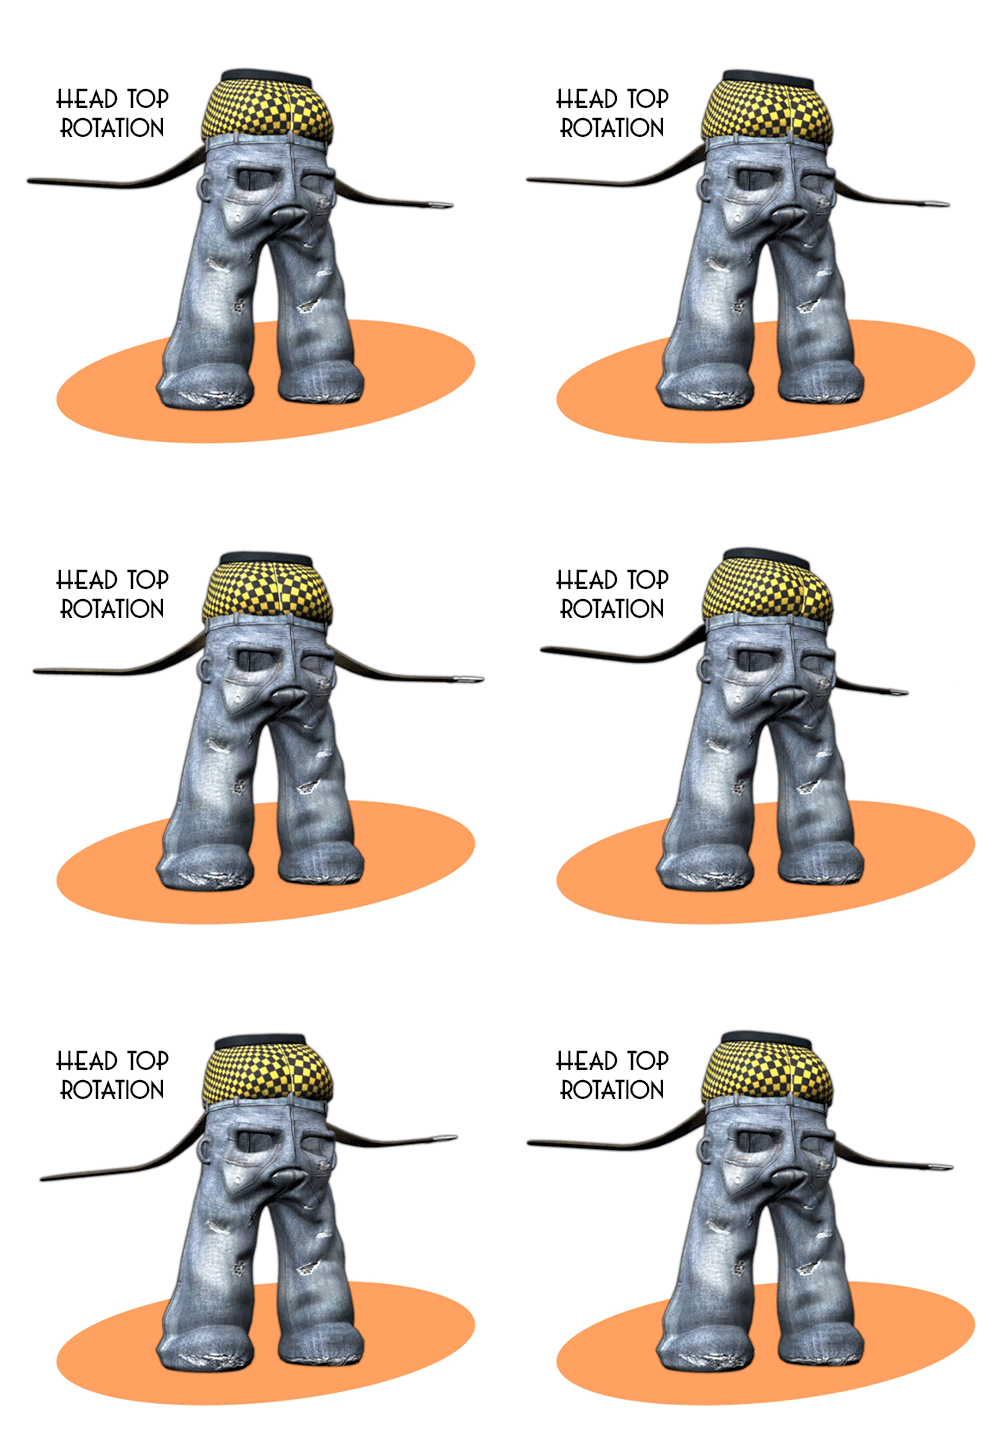
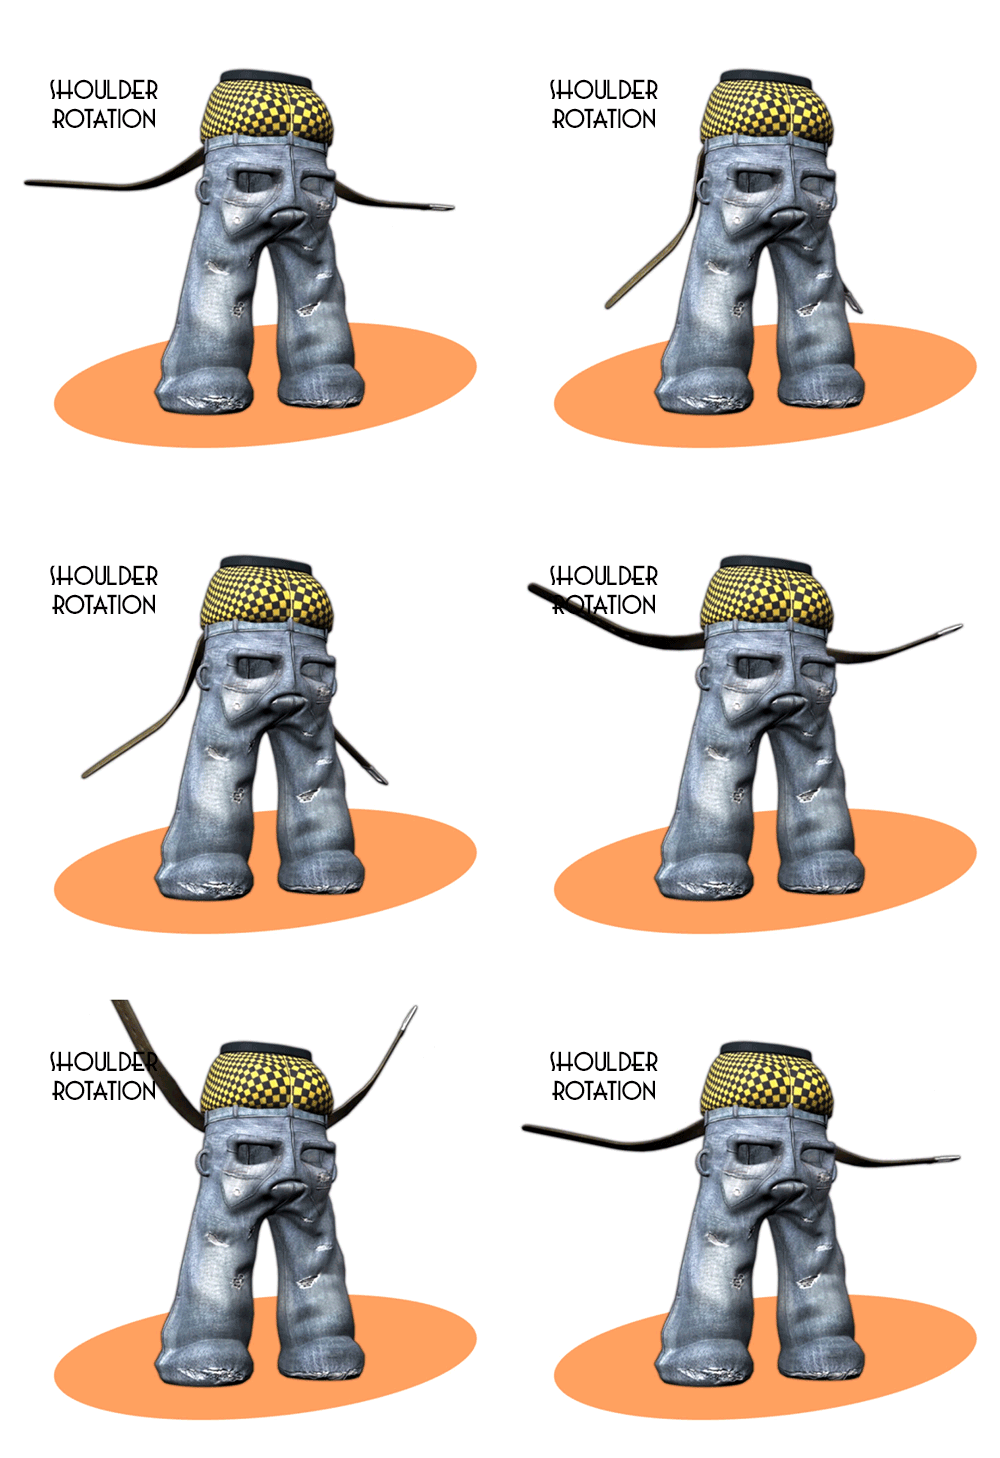
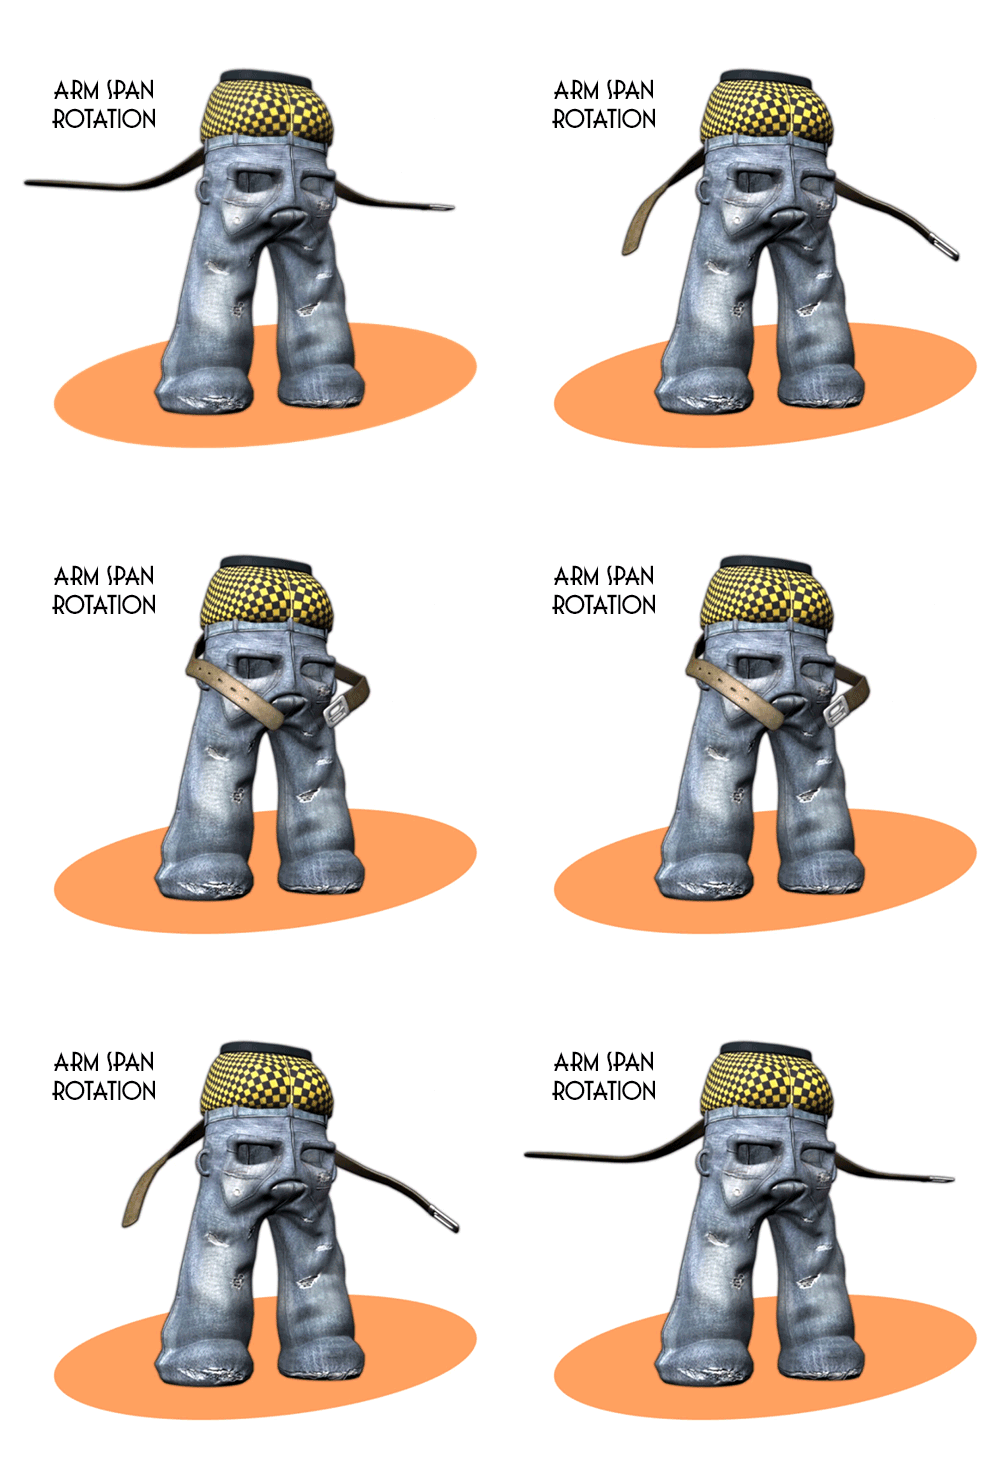
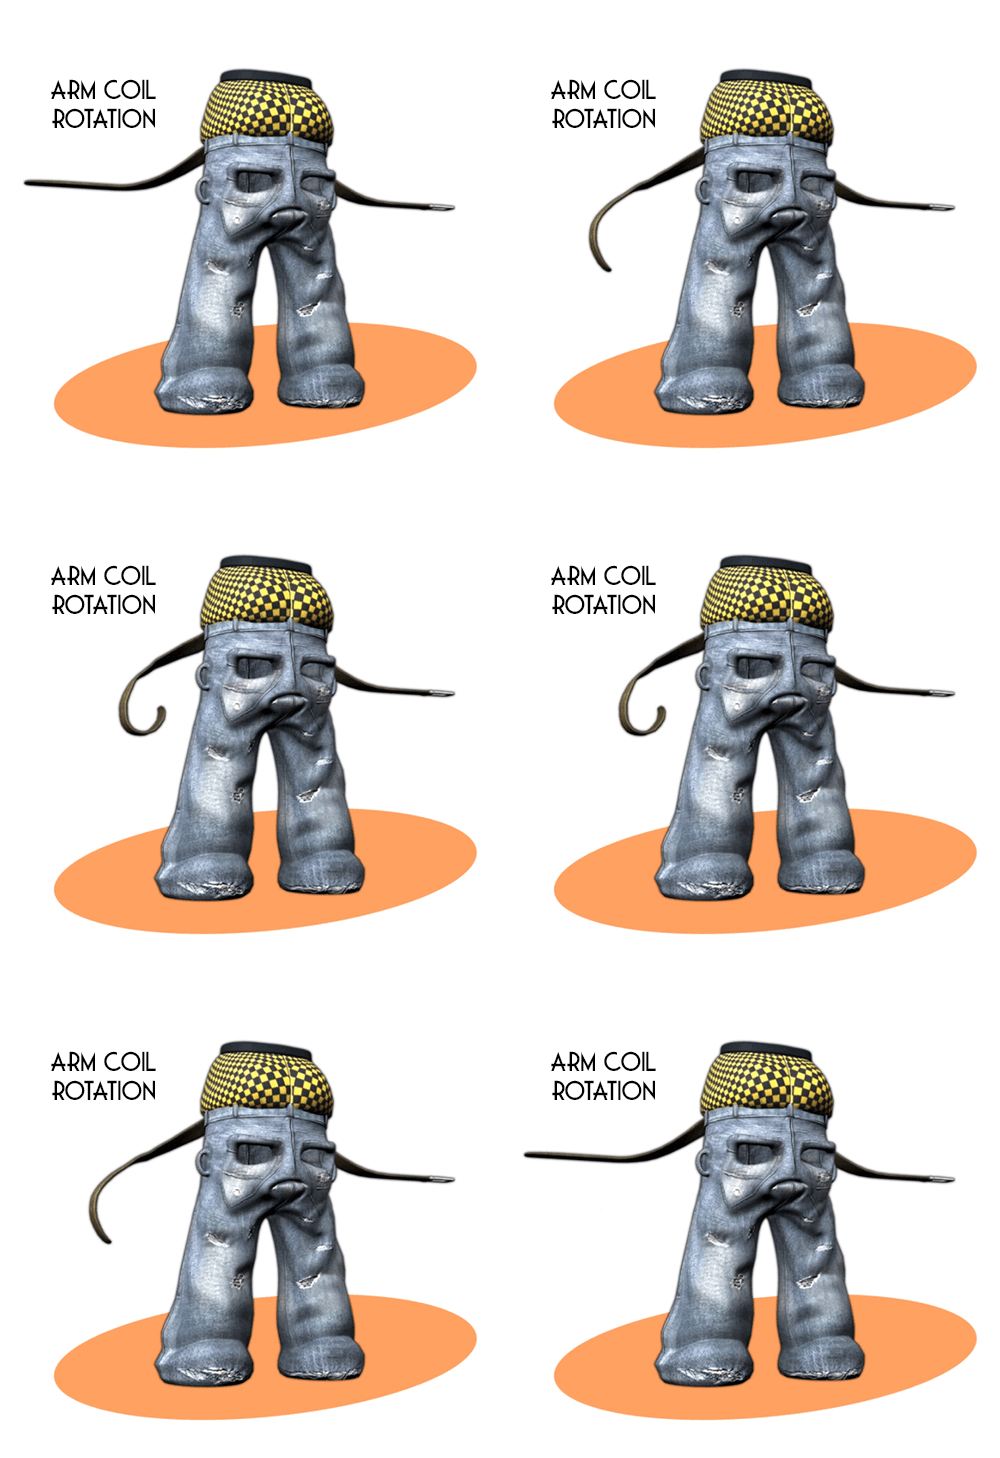
The close up animated gifs above show you the functionality of the rig rotations (which essentially create your characters movement). When we get down the line we will probably think about adding FK functionality but for now this should suffice. I created a series of animations to test how the skin weight reacted between their joints. Having an effective rig means having decent skinning so the joints know how to move between each other.
The animated gifs above this show the legs, head top and head bottom joints being rotated. The joints are skin-weighted between each other to create a realistic crease/fold or any surface deformation. One of the other factors for this process taking longer is also because this is higher poly then we had originally planned. Higher poly means there are more points to accurately weight and of course we have to trouble shoot their influence.
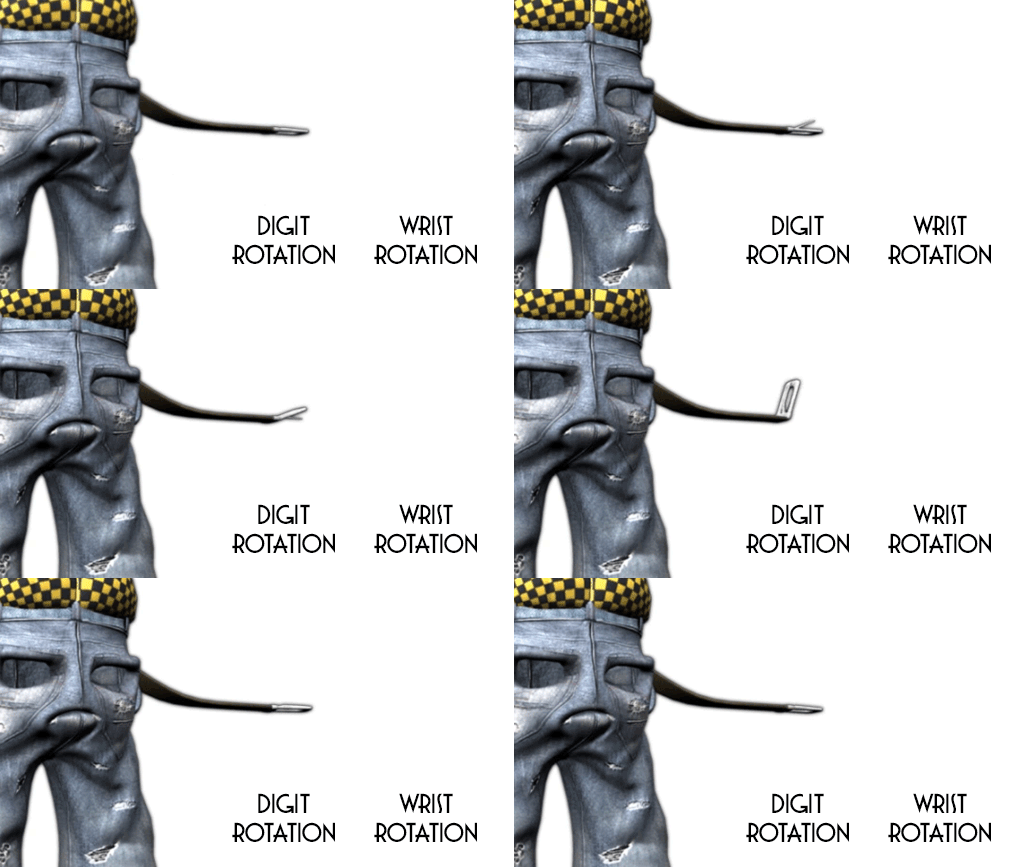
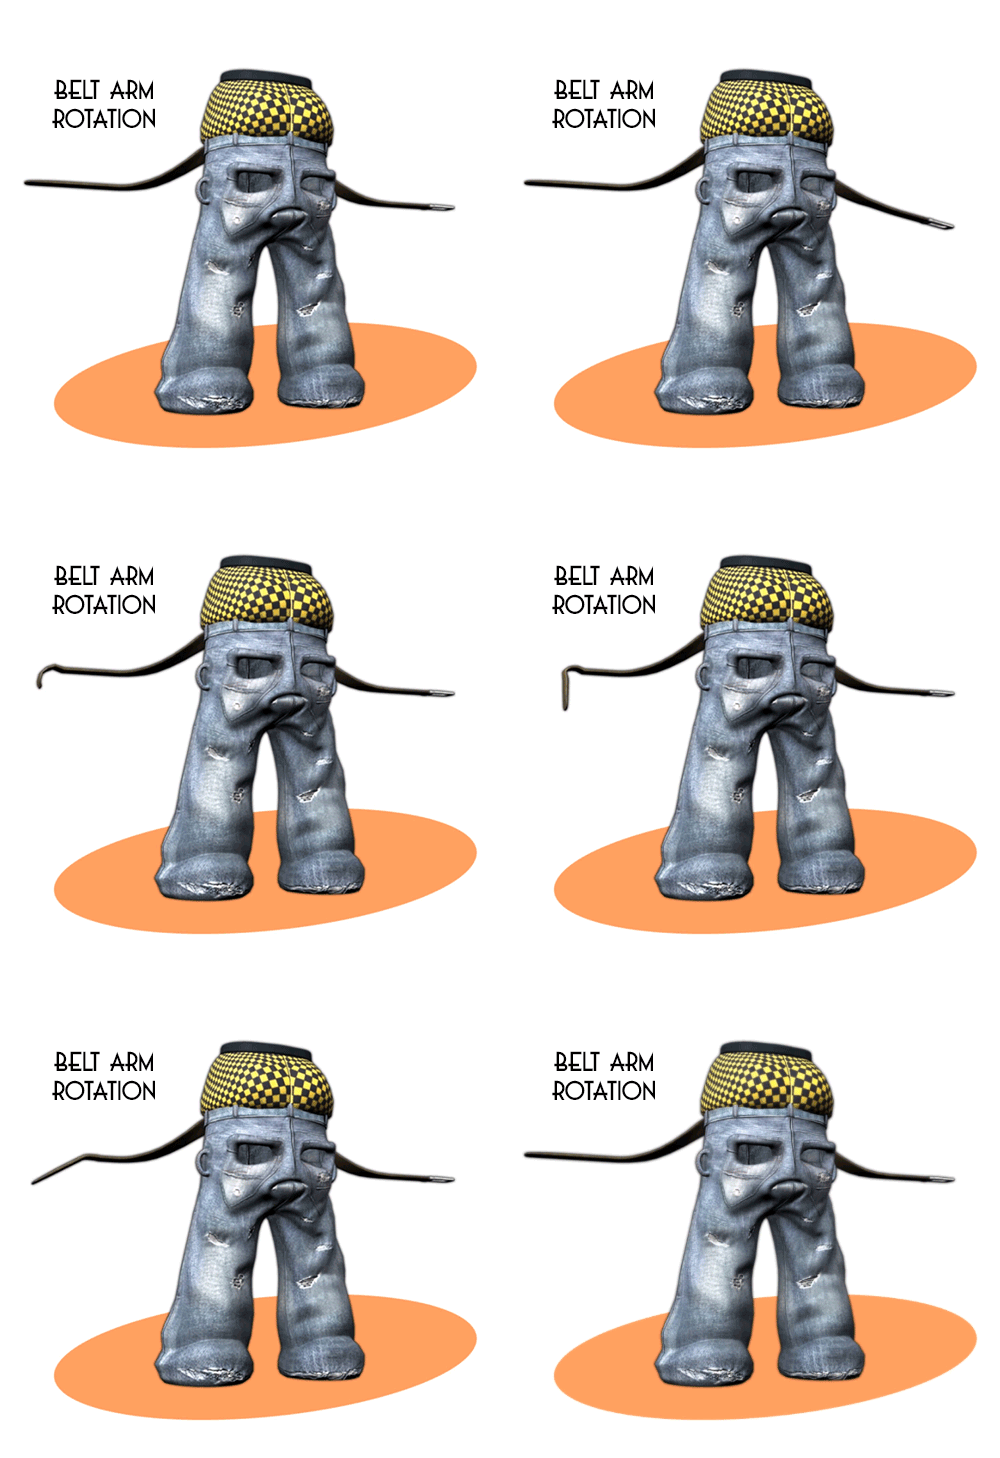
The animated gif series above shows the rotations on his left and right forearms, wrist & arms. There is also an arm span test which creates a kind of clapping animation but its to test his arm reach. Last but not least there is a test to show his shoulder rotations from where the belt connects to his base. I think you will agree it is nicely divided. I will also note that these were rendered out "unsmoothed" just to save time on the rendering.

The single animated gif image above is just to show you how the his right belt arm coils (it does this better then the side with the buckle). We believed that it makes more sense that the side with the buckle is more rigid because he actually has a metal hand with a single metallic digit. Originally the belt buckle had multiple joints but I removed them because it was more believable that metal wouldn't bend (the exception being his finger).

Last but not least we have my diagram of the final result through feeling my way through this character rig. Obviously we still have the eye-blink and tongue influence to add but that will be much easier. The core elements were the trickiest as you can see throughout this post. I'm expecting things to go more smooth now then they have been. I just thought id update you just sorry I wasn't able to sooner.
Please let me know when you have had a chance to look!
xXStItChXx
xXStItChXx
Subscribe to:
Posts (Atom)