Monday, 13 July 2015

The Snazzies: "Tim" Saggy Model Complete

Hey Catherine,

*Drum Roll* Okay this is the concluding chapter to Tim's development cycle. Its been a long journey with this guy but now I think he is at a place where I am happy and I'm sure you will be too. There are a couple of final updates to post on here just to "complete the thought" but for all intensive purposes he is now "Complete". I hope you enjoy this post so without any further ado I give you the completion of "Tim".

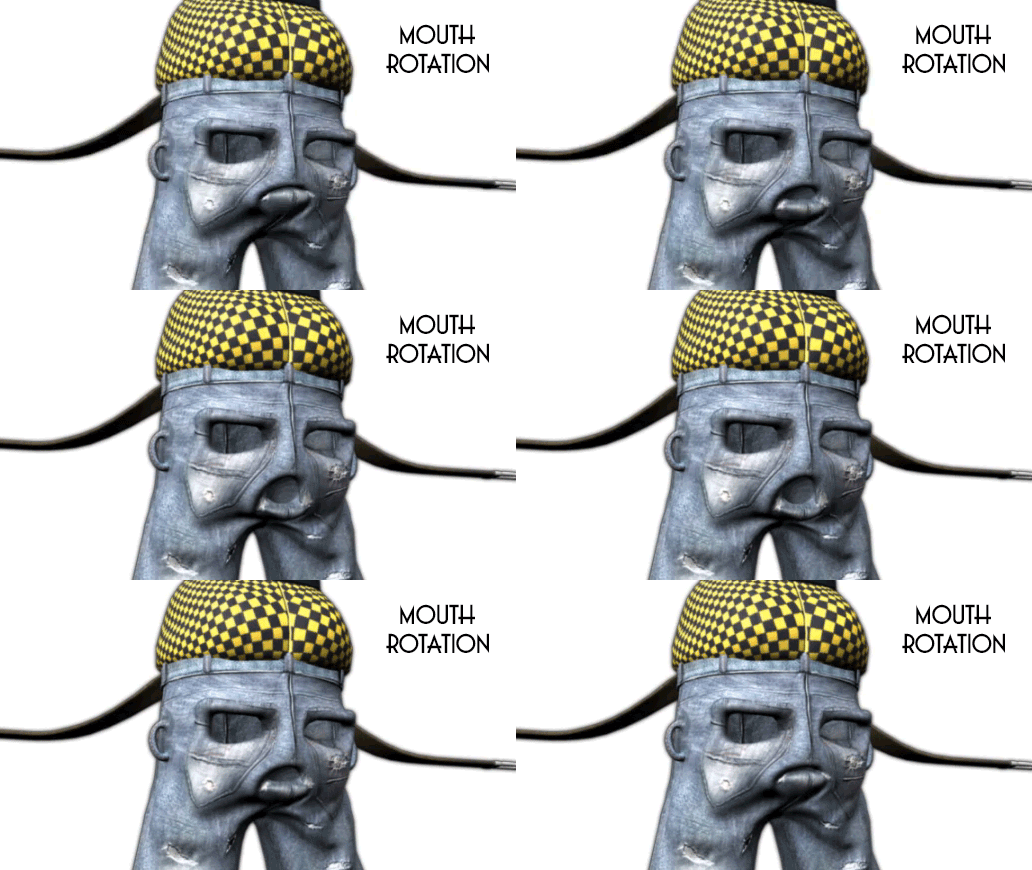
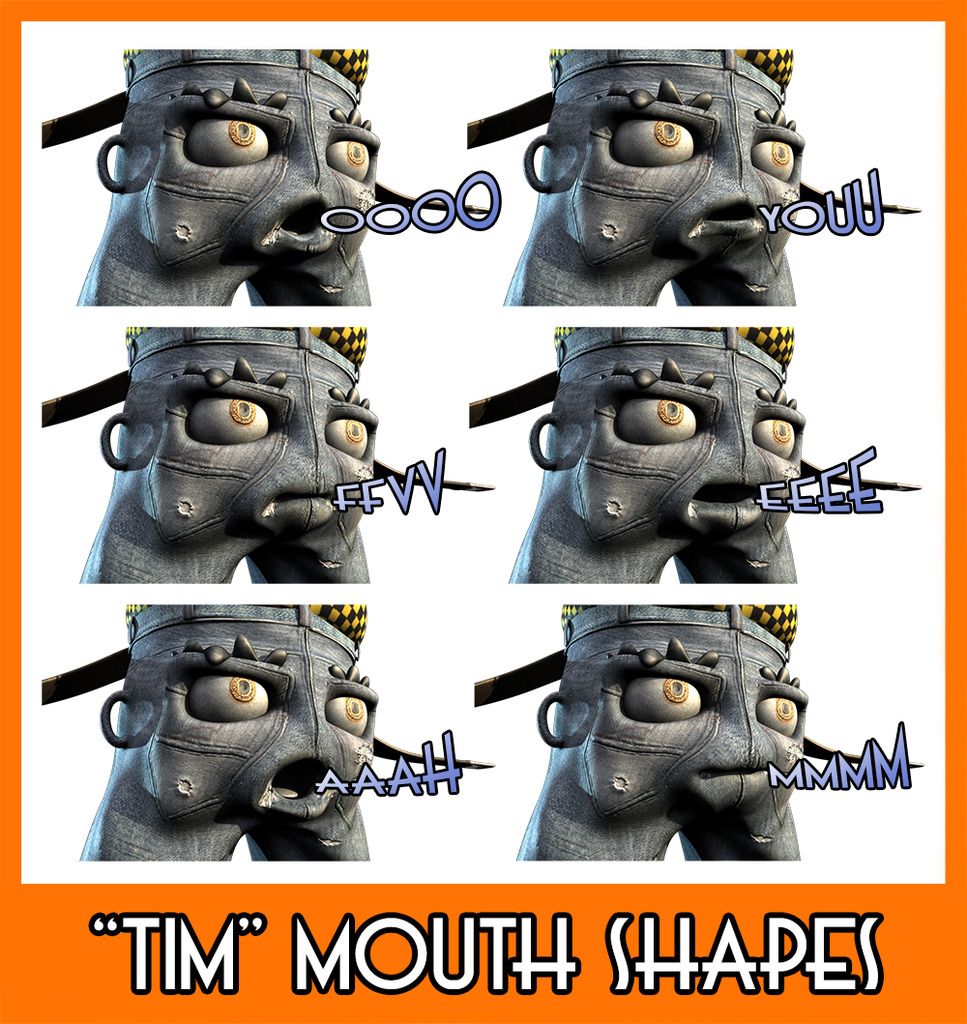
The image above shows the mouth shapes for the "Tim" Saggy believe it or not these cover most of the mouth movement of a standard CG character. You also mix and match these mouth shapes to get different results. My CG Arts teacher only ever used these to create phoneme movement. Anyway I thought you'd want to see them in all their glory. I didn't animate any videos to them but I think the pictures give you the idea.

The video above is a quick run through "the basic 3" facial emotions package on the "Tim" Saggy. I recall telling you over the phone that these are the 3 that are covered by the fee you paid (Angry, Happy & Sad). If you need any more expressions beyond these there will be an additional fee per expression. For the beginning stages though I am sure you are happy just knowing that the characters are starting to be completed.

Last but not least you have another small (quick and full) animation of the Tim Saggy moving through expressions as he gazes around. Please forgive the speed of the animations I made these less frames in order to get them rendered by the end of business hours Monday. Tuesday I want to get cracking on the "Stitch" character which Ross has started just to get that one rolling. I am aiming to have Stitch done by the end of this week.

Anyway I will provide this post link and the link to your model in the email I send.
1 down!! Woop Woop!!

xXStItChXx

Thursday, 9 July 2015

The Snazzies: "Tim" Saggy Baby Steps

Hello Catherine,

Apologies for the delay in getting a message over to you I know I said to you I'd have "Tim" done the day before yesterday but there have been a couple of hurdles. The minute I started moving forward onto the eye blinks the model went weird. I spent an entire day trying to correct it myself, when I couldn't I consulted a specialist (who I know from Uni days) and thankfully he fixed it today. I will continue and hopefully finish Tim tomorrow.

In the meantime -

I think you will agree that we have made it pretty much through and I think you will concur that this render is as sharp as it can get. This is with a basic 2 spot light setup (the same I have been using for all decent looking renders). This rendition is full A4 so you can actually download this and print it without losing any resolution. I thought it was time that I gave you a workable image while the rig is still taking its final steps.

The video above is the stress test render I conducted which took roughly 11 hours to render (7 seconds in total) but I thought I had kept you in suspense enough its now time to see the little guy move. I have showed it to Ross and to his aesthetically high standards he said it looked simply "amazing" which I do concur ha-ha. The animation in the video is crude its just control tests don't worry future animations will be better.

The second video (Brief walkthrough) is something I advise you watch if you want some more technical know-how. This one is totally aimed at you Catherine so check it out some time if you want to know how we will be animating this guy using "controls". I kept it brief and down to 10 minutes I realised that up until this point you hadn't seen Maya (our animation package) so it gives you a little look around how the future will be looking!

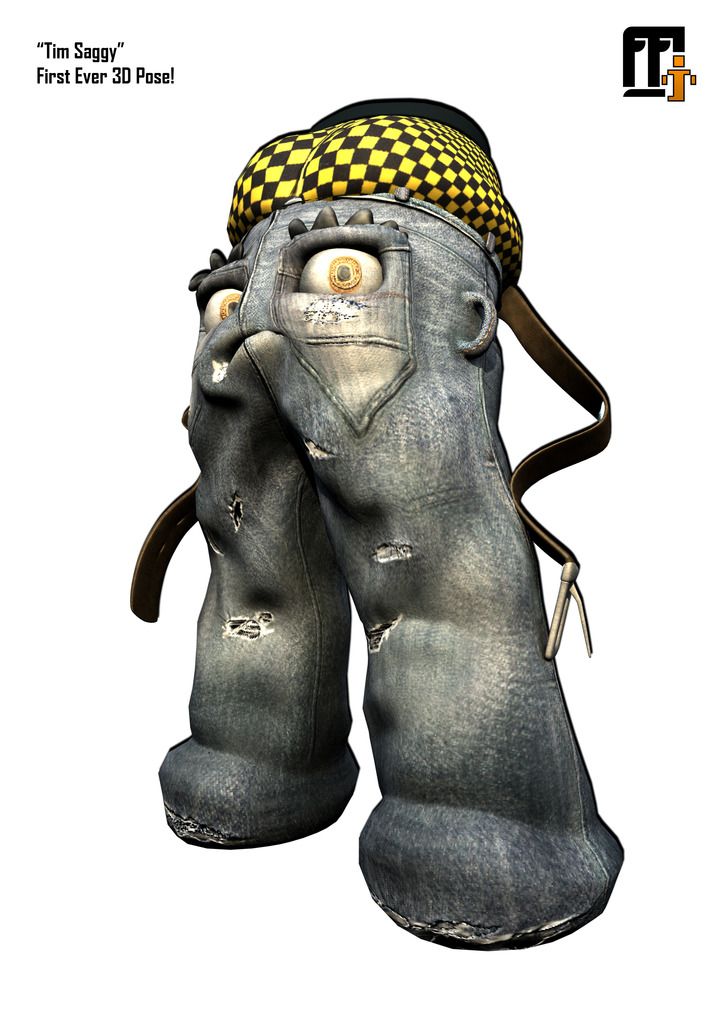
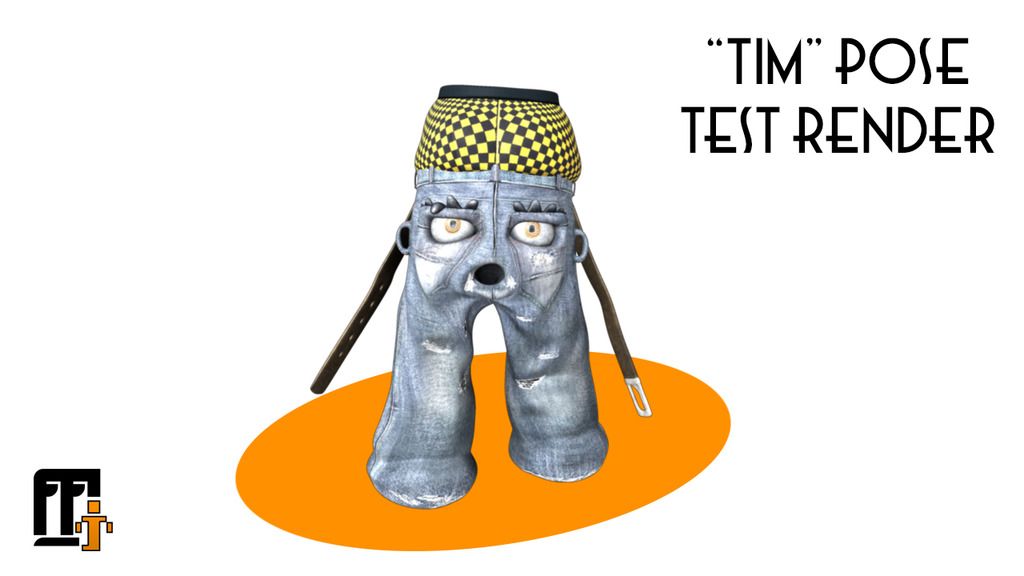
I thought I would finish the thought with another little pose which I knocked up while rigging I thought you'd get a kick out of these. Once he is fully rigged knocking up poses for your various presentations will be easy. After the rigging is complete on this guy I will get him over to you and I am so sorry its taken even longer. Luckily its fixed now so hopefully tomorrow night I will be sending him over... then fixing the next lol.

I hope you enjoy the post!
xXStItChXx

Thursday, 2 July 2015

The Snazzies: "Tim" Saggy Skinning Complete

Hey Catherine,

Apologies on the delay of this as I told you on the phone there were extra difficulties due to the nature of the rig. This is not a normal set of principles so I felt my way through this one. BE WARNED this post is going to be a bit technical in nature so please wear your crash helmet and protective cup! The good news is I only have to finish the rigging and get some face shapes and your good to go! Please click any of these to enlarge.

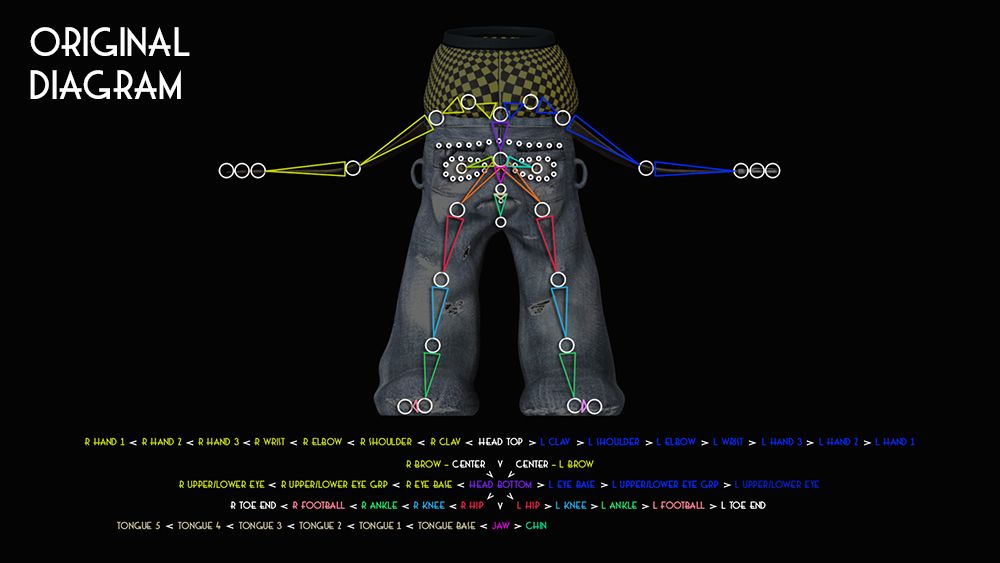
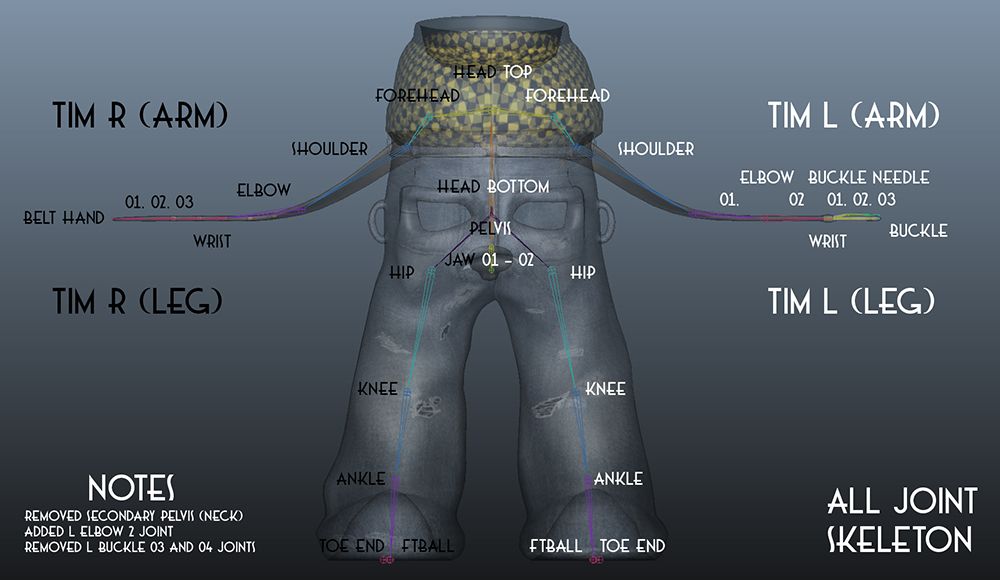
The image above shows the original Saggy diagram I knocked up after my initial attempt (which resulted in failure). This surprisingly wasn't far from the mark the main issue was the arms because the belt is a little twisted. There were also unnecessary joints which I removed as I went along. We also added a joint in where the left side arms connect just to give a little extra twist in the rotations of the left hand belt.

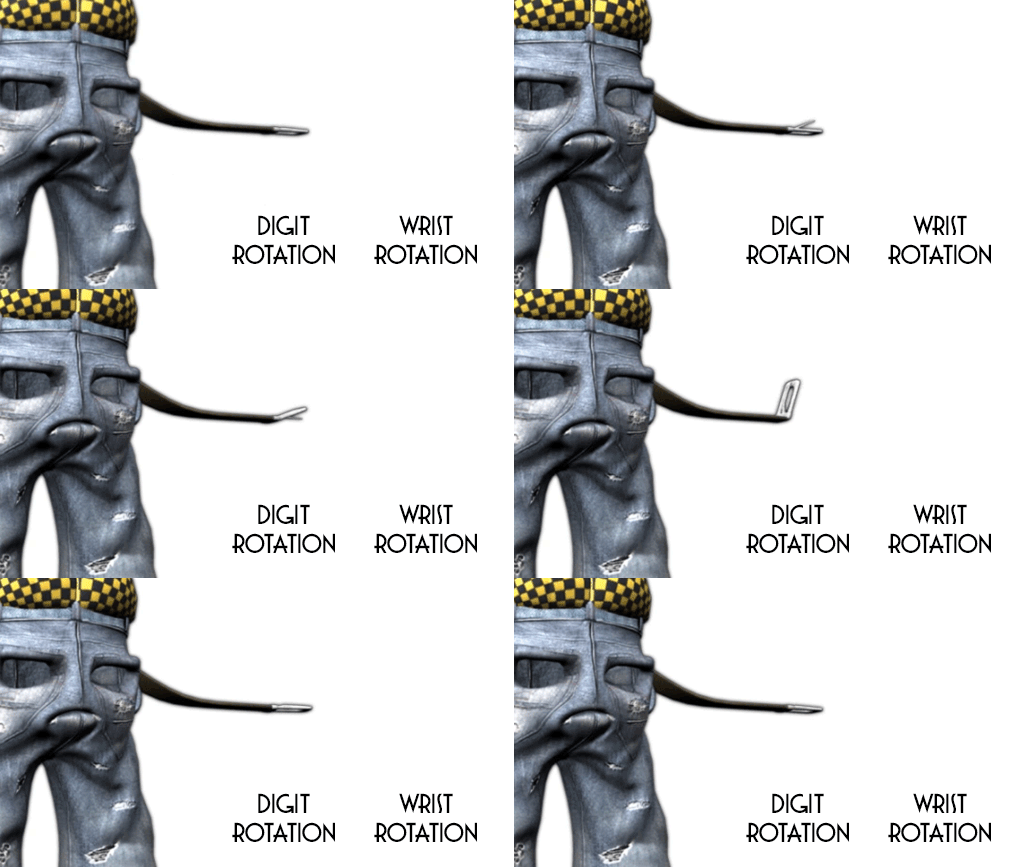
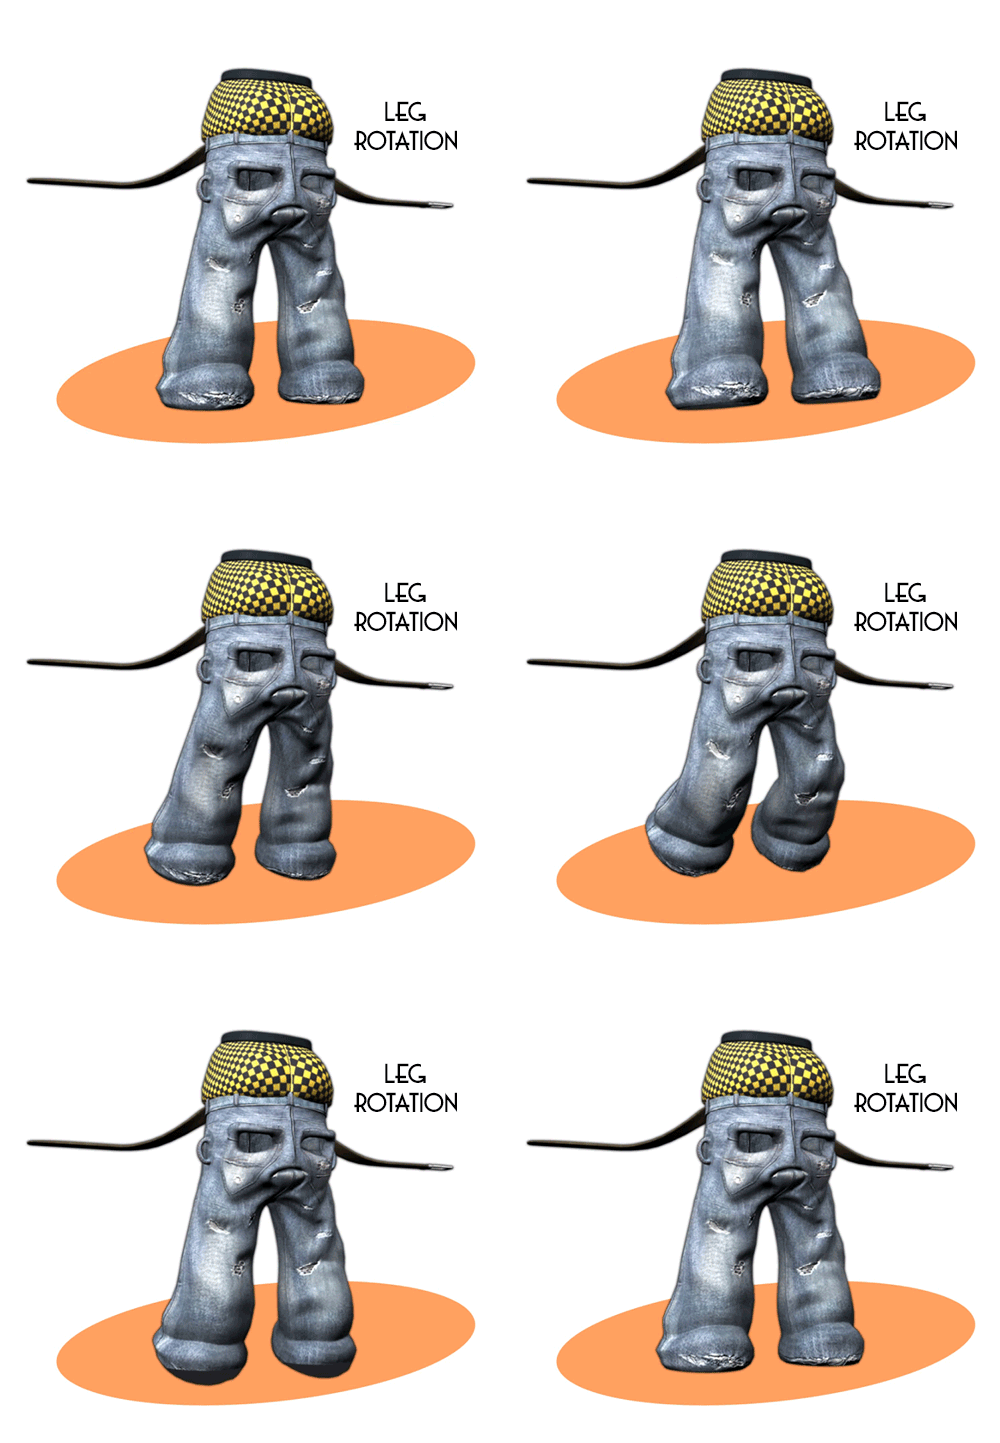
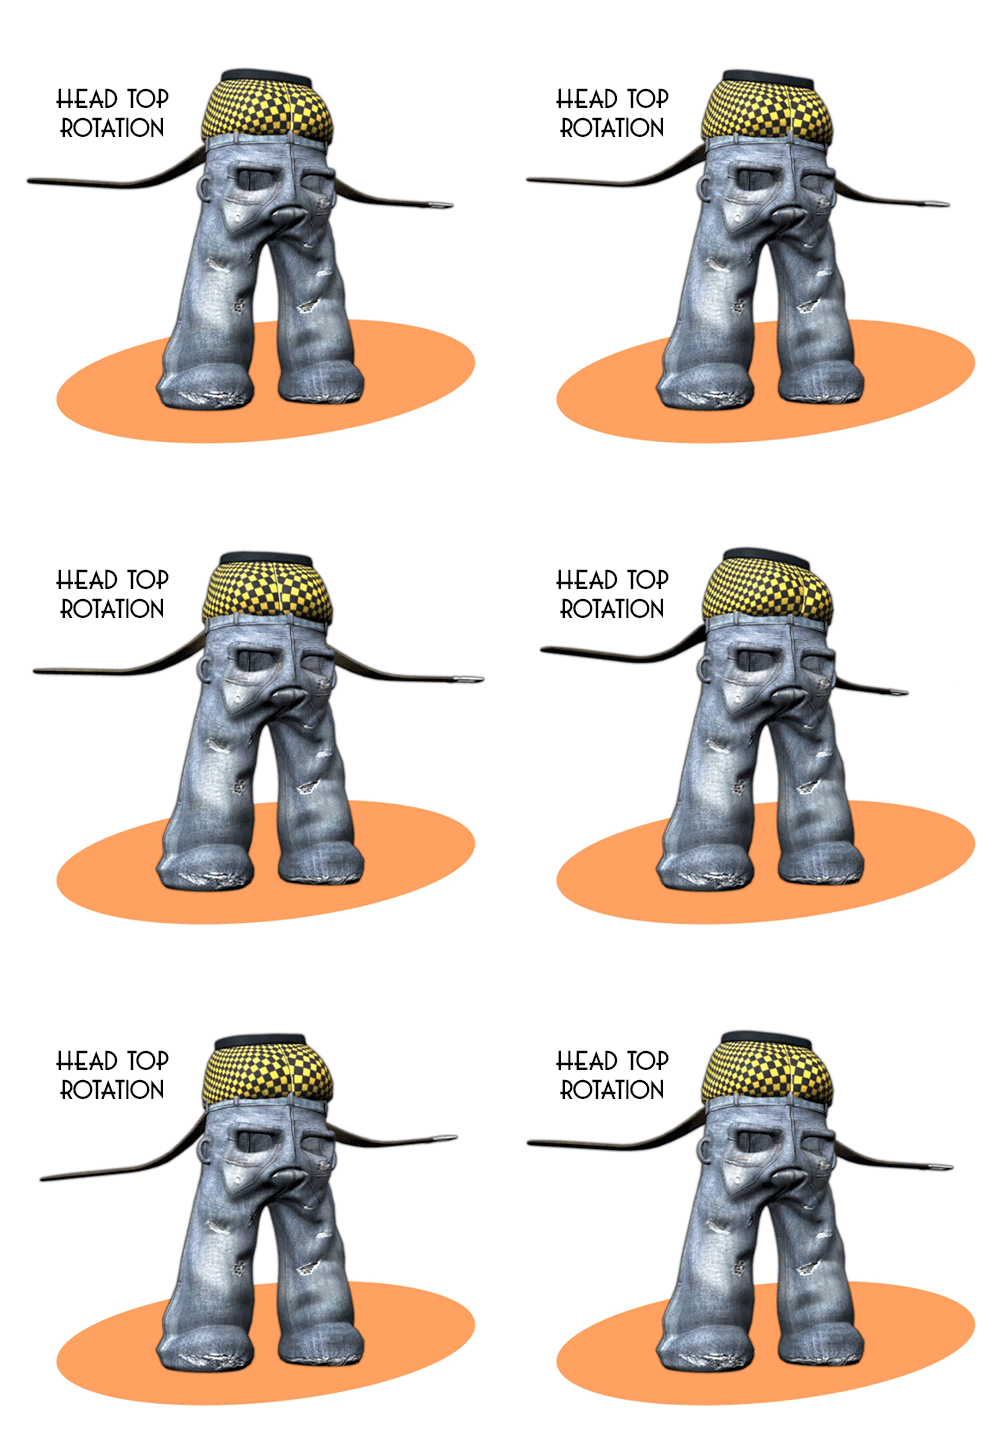
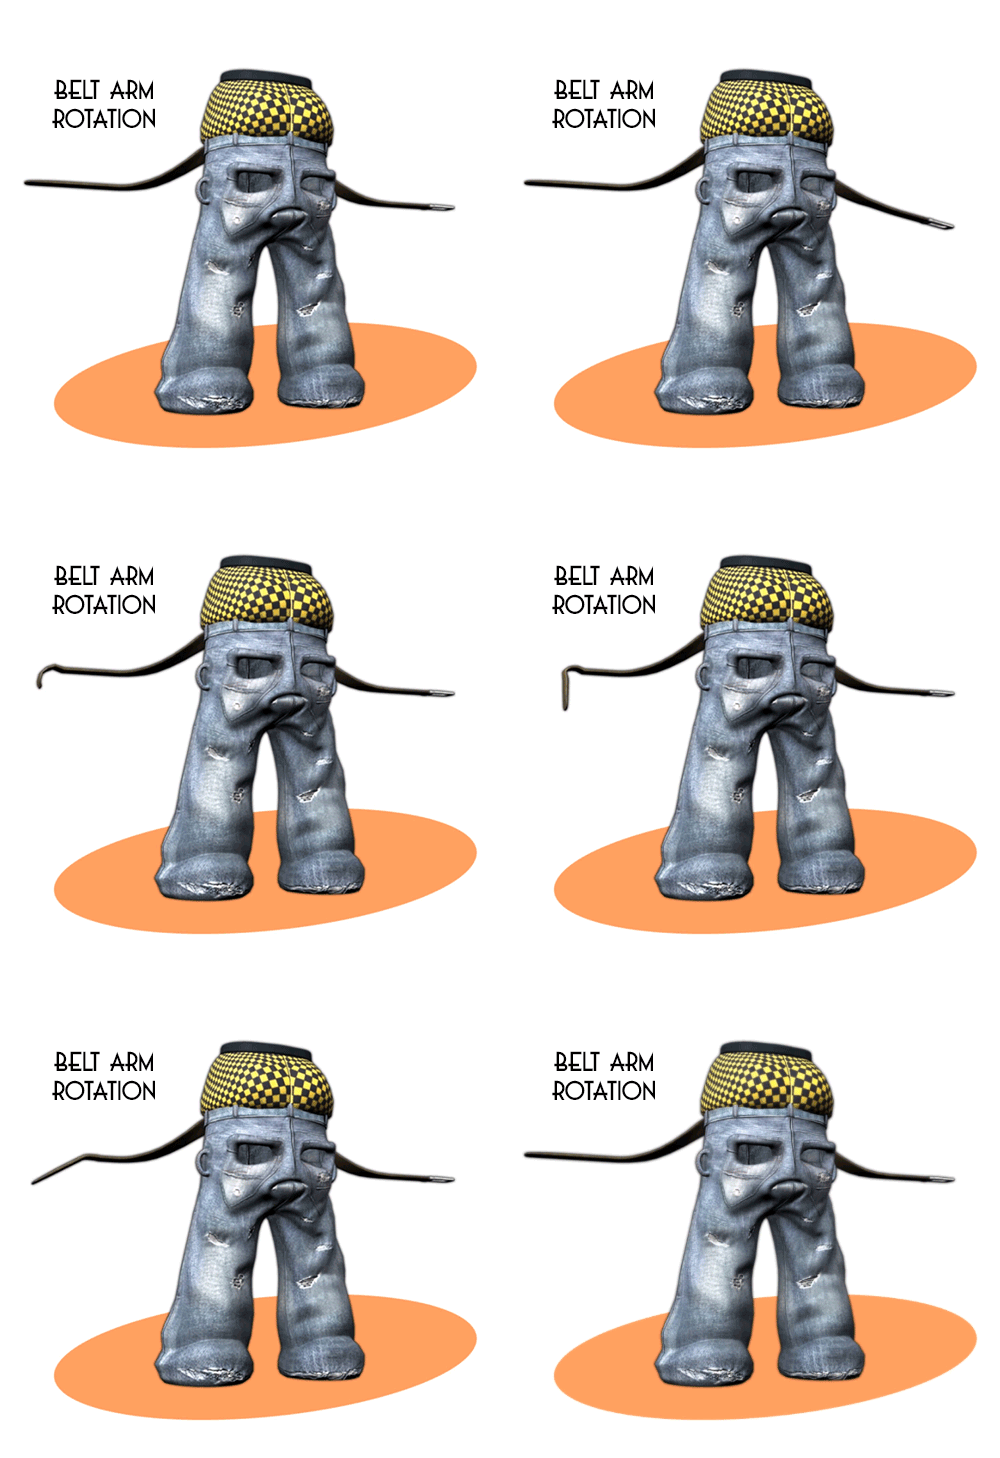
The close up animated gifs above show you the functionality of the rig rotations (which essentially create your characters movement). When we get down the line we will probably think about adding FK functionality but for now this should suffice. I created a series of animations to test how the skin weight reacted between their joints. Having an effective rig means having decent skinning so the joints know how to move between each other.

The animated gifs above this show the legs, head top and head bottom joints being rotated. The joints are skin-weighted between each other to create a realistic crease/fold or any surface deformation. One of the other factors for this process taking longer is also because this is higher poly then we had originally planned. Higher poly means there are more points to accurately weight and of course we have to trouble shoot their influence.

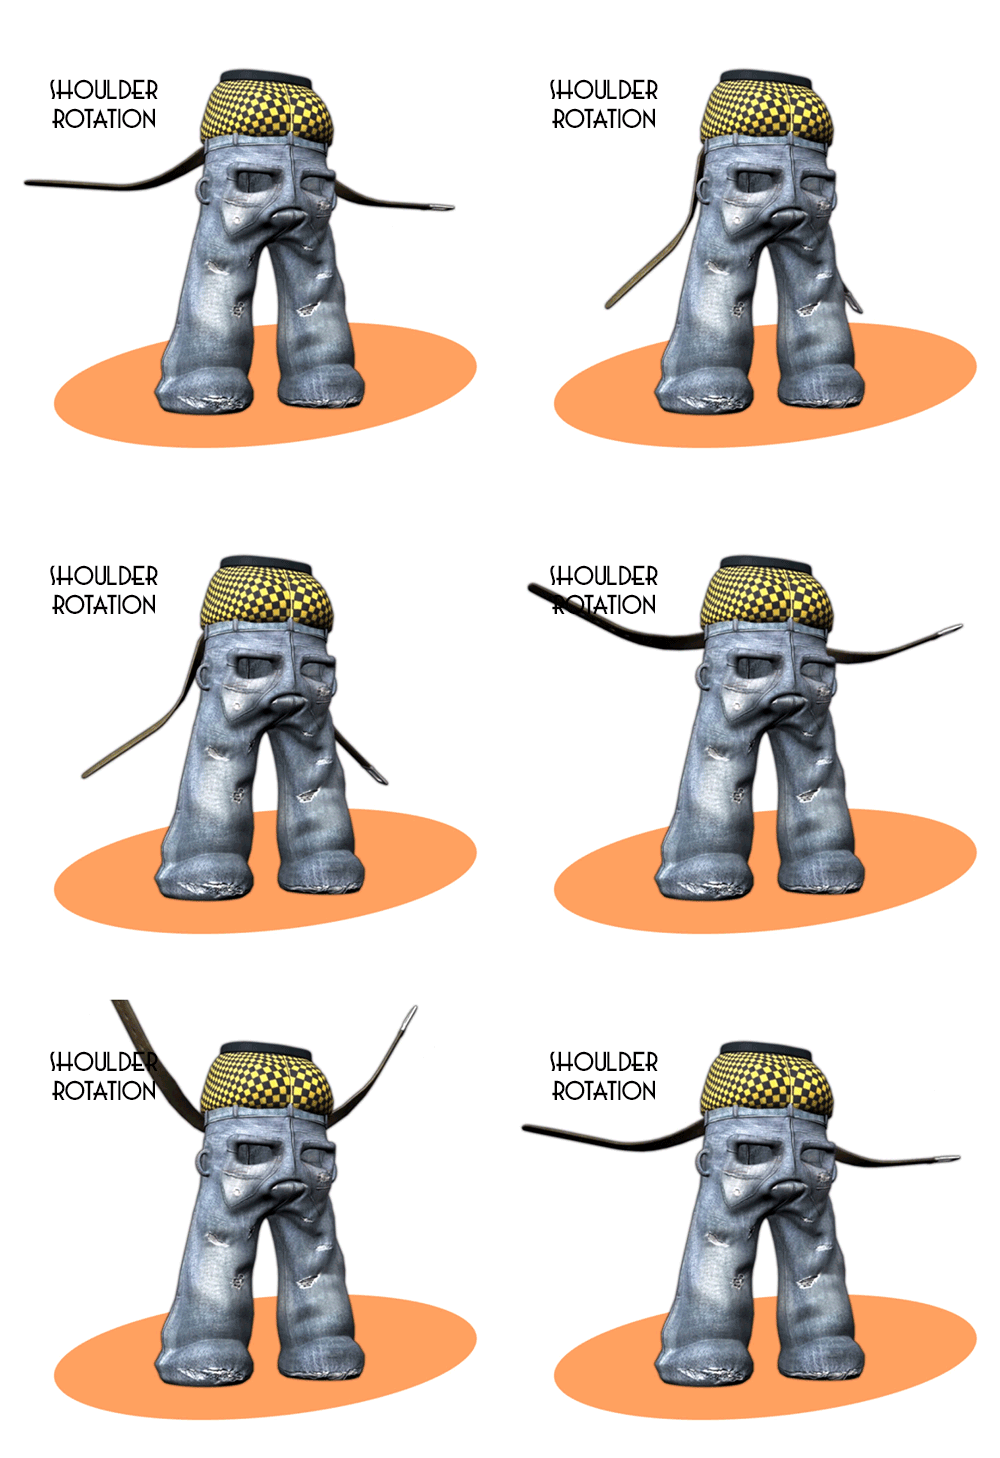
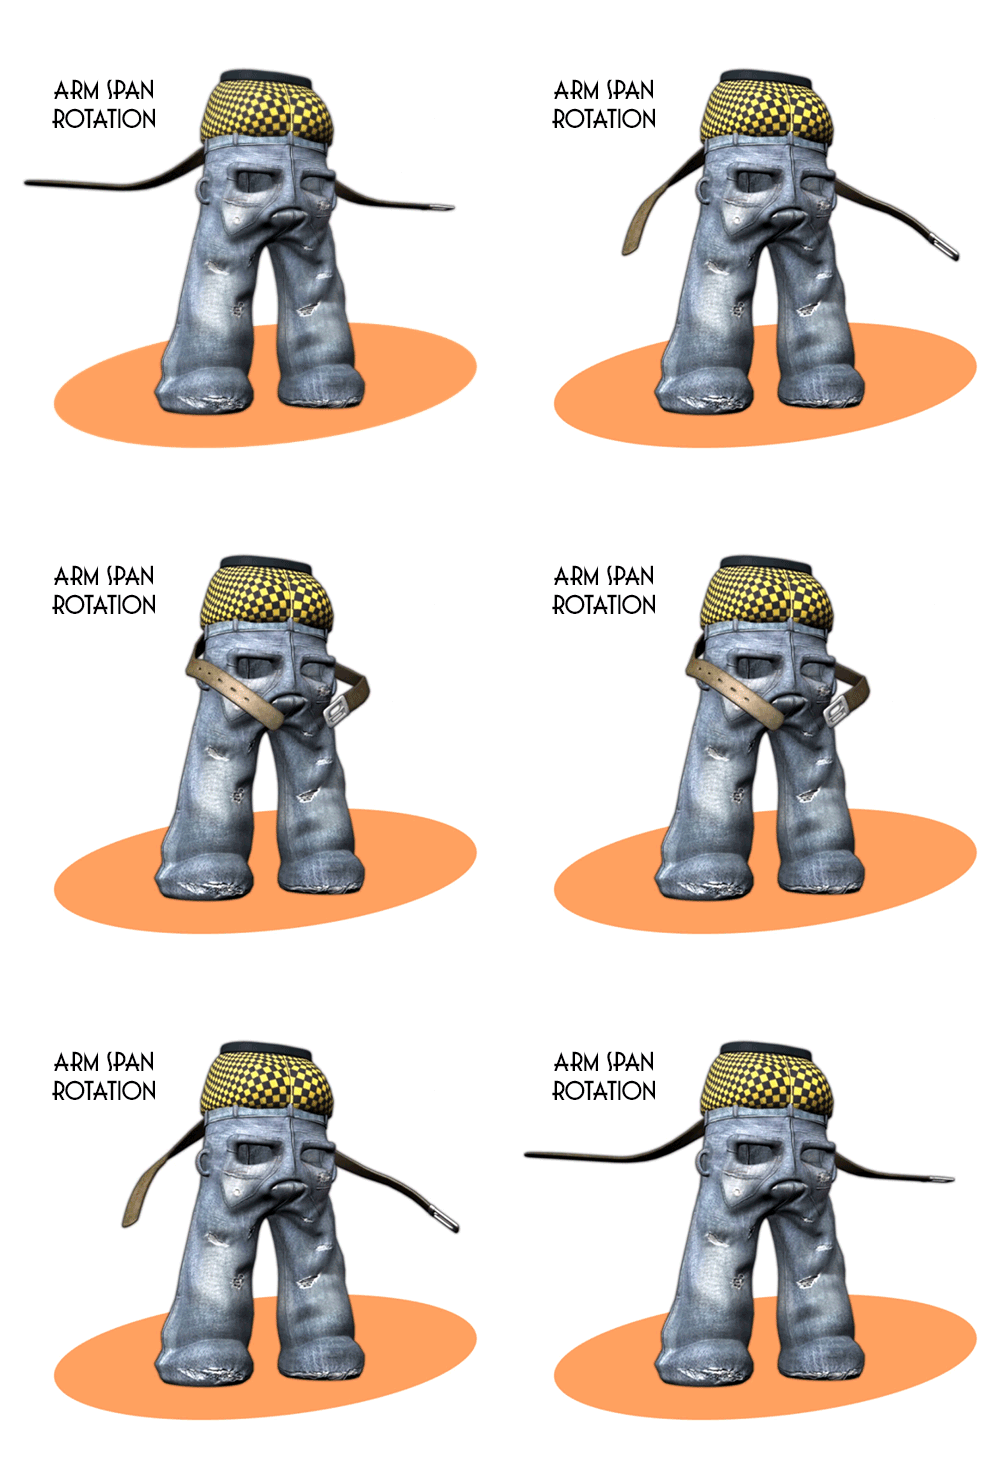
The animated gif series above shows the rotations on his left and right forearms, wrist & arms. There is also an arm span test which creates a kind of clapping animation but its to test his arm reach. Last but not least there is a test to show his shoulder rotations from where the belt connects to his base. I think you will agree it is nicely divided. I will also note that these were rendered out "unsmoothed" just to save time on the rendering.

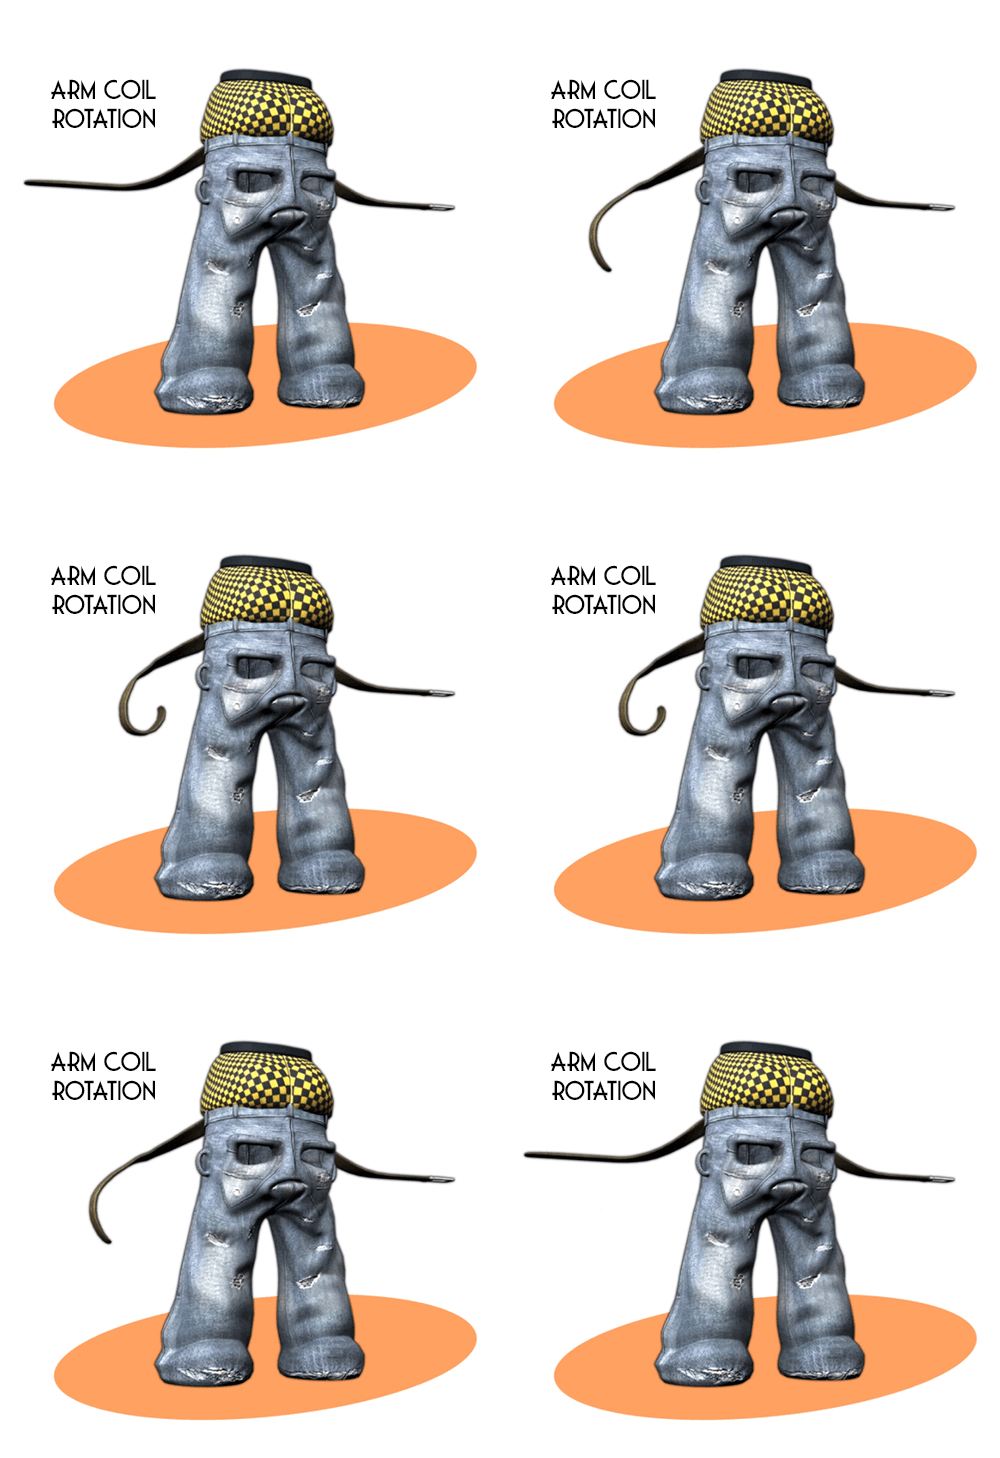
The single animated gif image above is just to show you how the his right belt arm coils (it does this better then the side with the buckle). We believed that it makes more sense that the side with the buckle is more rigid because he actually has a metal hand with a single metallic digit. Originally the belt buckle had multiple joints but I removed them because it was more believable that metal wouldn't bend (the exception being his finger).

Last but not least we have my diagram of the final result through feeling my way through this character rig. Obviously we still have the eye-blink and tongue influence to add but that will be much easier. The core elements were the trickiest as you can see throughout this post. I'm expecting things to go more smooth now then they have been. I just thought id update you just sorry I wasn't able to sooner.

Please let me know when you have had a chance to look!
xXStItChXx
Tuesday, 19 May 2015

The Snazzies: Current Snazzy Scales

Hey Catherine,

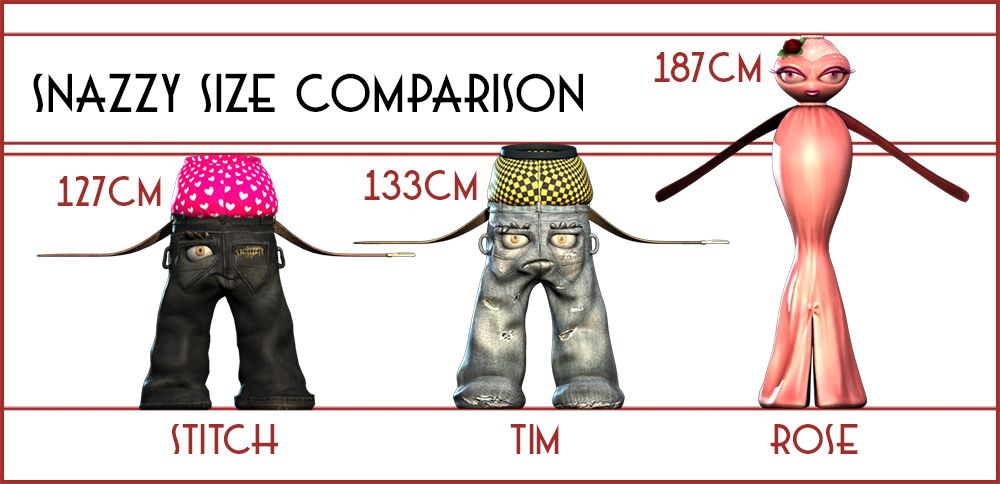
Okay Catherine going by the email you sent your are now happy with how they look its just a scaling issue. I sat down and threw all of the characters so far in one scene (even our draft Slinky). Basically we go by her scale divide her in half and add a centimetre back. I wanted the waist of the Saggy to kind of line up with the Slinky's I also considered eye size and arm span. Again technical considerations.

The image above shows the characters in orthographic view lined up in the same scene. From your emails I ascertained that Stitch is the smallest (in this case 6cm shorter then Tim). This means that Ross will be the tallest (possibly 5-6 cm taller then Tim). The Slinky is obviously the tallest (I'm not sure about the other Slinkys). Anyway they look good together so I think this is probably correct.

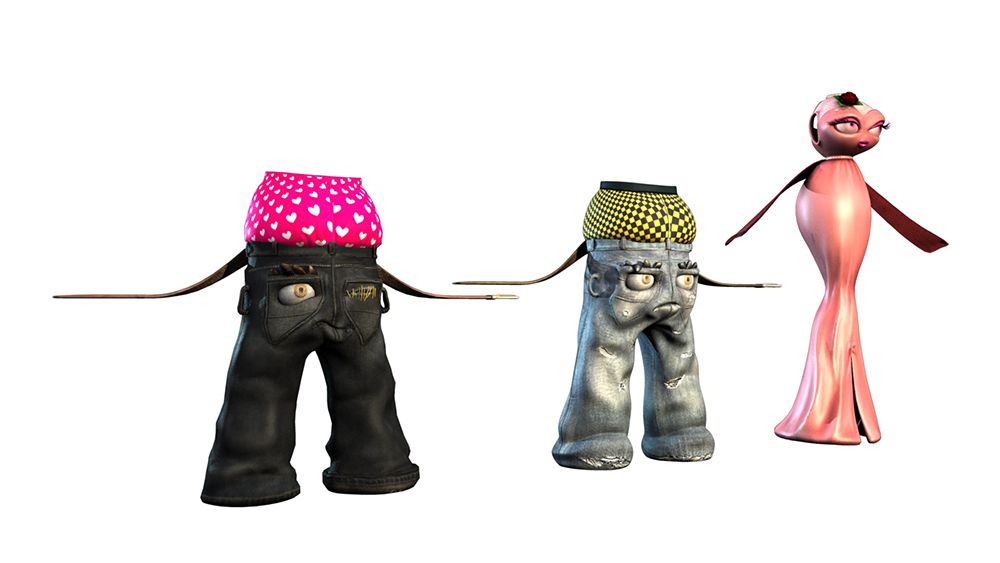
Next is a clean perspective shot looking up at the Slinky on the far (tallest) end. I rendered this and lost the black background so you could see Stitch a bit better. If you have any further concerns with the height please let me know how tall you see them being obviously. I think I have emphasized how you shouldn't scale this down after they are rigged so environments etc will have to be scaled for these characters.

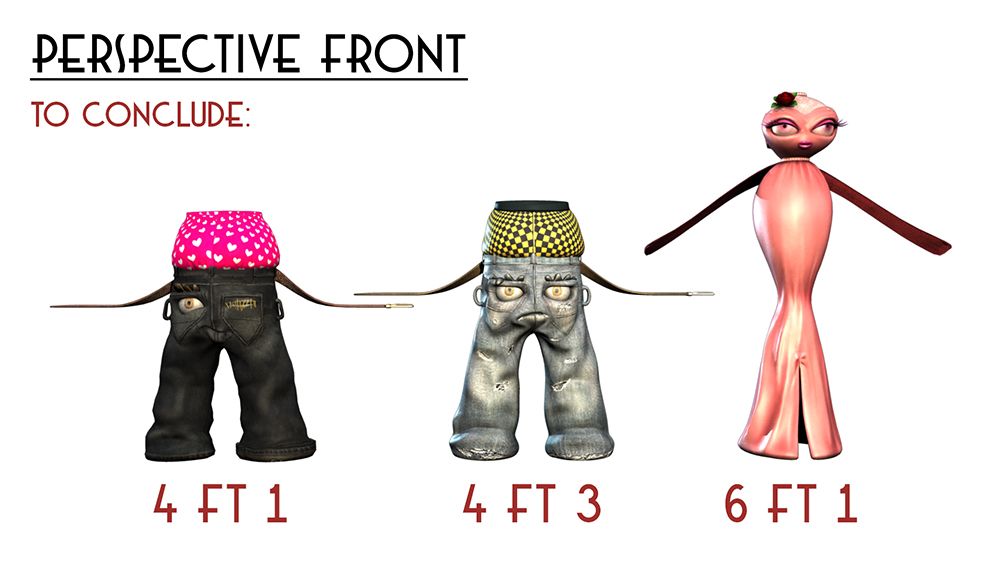
Last but not least is the final sizes in Feet (the image is front perspective). Again I am willing to hear your concerns about these but I need to know this before I rig. We don't want to be downsizing/up scaling after the rig is implemented. Anyway I think this is a nice balance of size and it has a nice bit of realism binding it (jeans are 3 foot from the ground - the long boxer shorts add a foot).

Please get back to me once you have had a gander!
xXStItChXx

The Snazzies: "Tim" & "Stitch" Saggy Rig Ready

Hey Catherine,

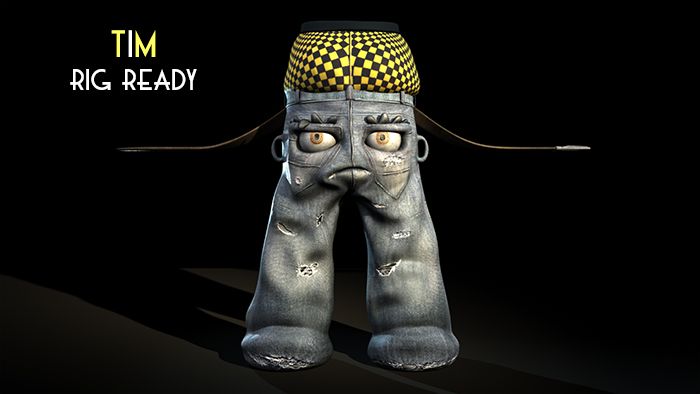
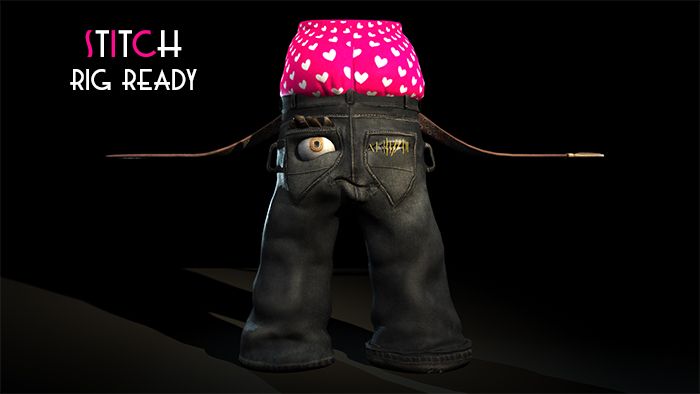
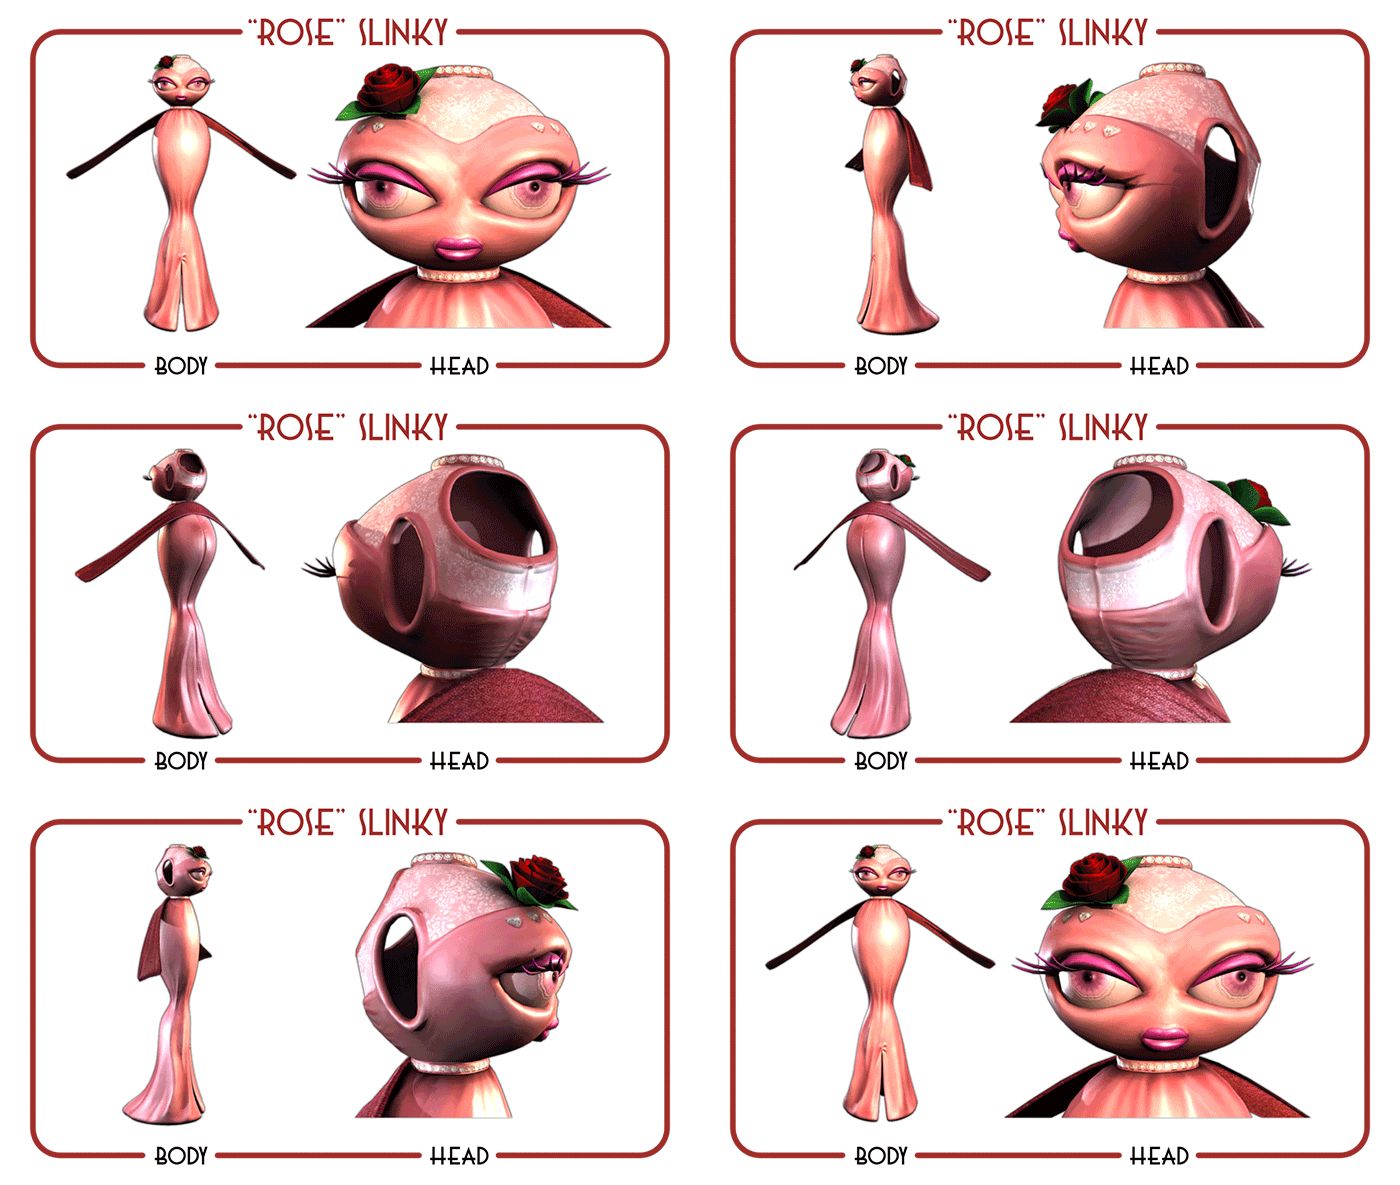
Okay barring our collaboration on "Rose" the Slinky I thought it was time for you to give us your final sign off on the first two characters (Tim & Stitch). The renders in this post are from clean Maya scenes with a drop in lighting set. The various, textures, nodes, bump maps, etc. are all named and are made part of a hierarchy. The Maya models (and their components) are grouped and complete. I call this "Rig Ready".

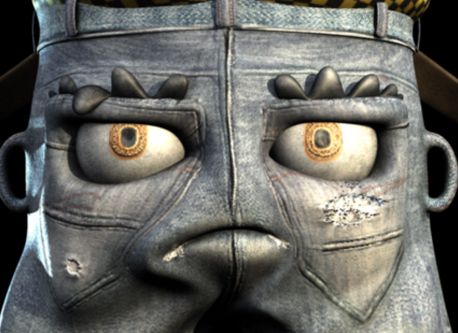
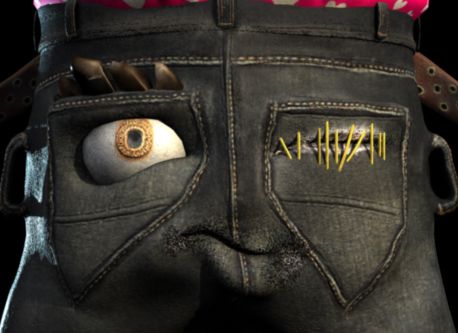
The images above give you a final close up of each of their faces. Obviously prior posts have a good view of the front so please check back on those if need be. This post is to also confirm that you like the new hearts texture on the "Stitch" Saggy (taken from your email). I hope that this is acceptable and that we can move on with the other characters when we meet. Ross is working on the last (Ross) Saggy as we speak.

Last but not least are the two characters from the front in the same camera space. The only thing for me to figure out is the Maya units (height) of each character. As I told you I will work this out from the base Saggy (Tim) but it will probably be easier to do when we have every character in the "Rig Ready" stage. I will do confirmation posts for each character once they are Rig Ready. They require just your final say so.

So yeah just confirm these now and 4 characters remain.
xXStItChXx

Monday, 18 May 2015

The Snazzies: Slinky Texture Turnaround Mk2

Hey Catherine,

Okay apologies for the silence but we have been working hard getting things together. You will have all of the characters by the 24/25 deadline (bar the rigging of course). We are hoping to have a quick week so were looking to get everything confirmed as soon as you possibly can. Please send this to whoever you have to and obviously let us know what you think. We are happy with how she looks and would like confirmation before doing the colour alternates.

The animated gif above shows the slinky "Rose" in her textured state. Dress seams have been added and I think you will agree it flows a lot better. The rose has been resized and based on the revised mesh detail it should be more or less what you were looking for. As always please let us know if there is anything you do not like but be aware that we may have to charge you if changes become more drastic.

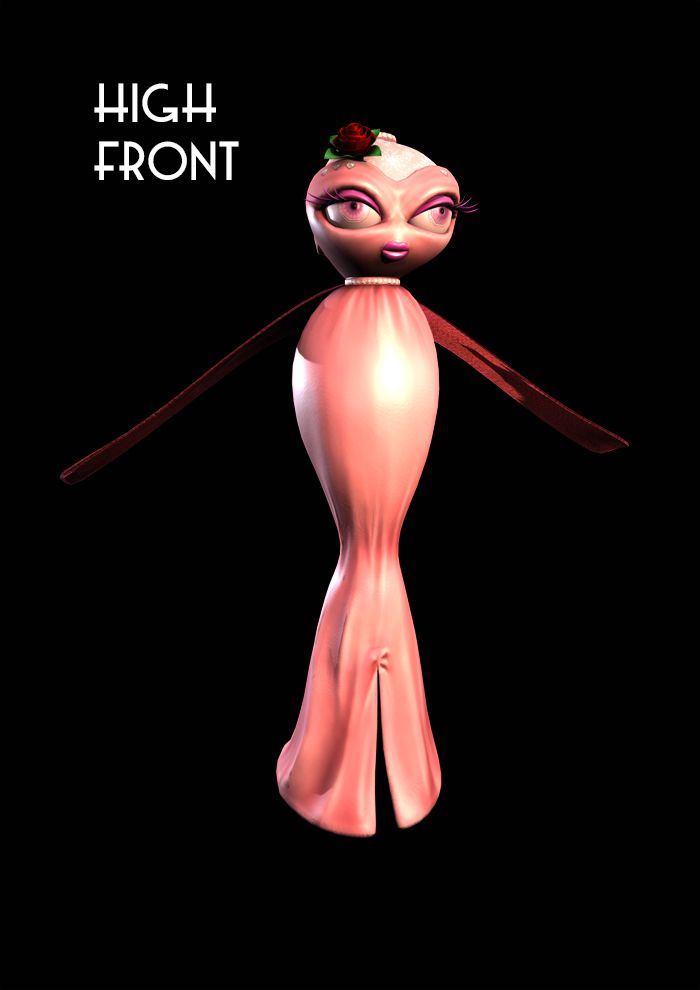
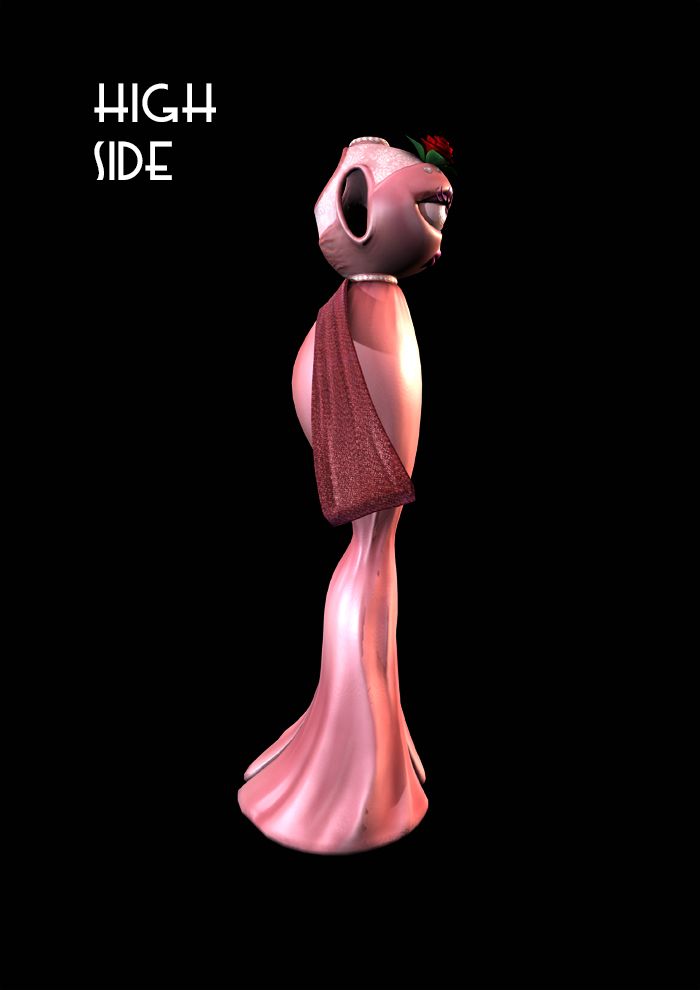
I just added these images in as per your request. Apologies again for the hastiness within these turnarounds I forget that they can be a little jarring for someone looking to examine them. I have done a front, side and back render (at three quarter perspective angles for a little dynamism). Again send this around if you want hopefully we can tackle her together when we meet soon.

Please let us know what you think!
xXStItChXx
Friday, 8 May 2015

The Snazzies: Stitch Saggy Texture Turnaround

Hey Catherine,

Ross asked that I also post up some turnarounds for you to have a gander at so that is what this post is about. I went a bit to town on turnarounds just because I thought you'd want to see more intimate details. Not just the surface texture but how things look "under the hood" so to speak. My mandate with you was not just to create the characters but make you aware of the process for future ventures.

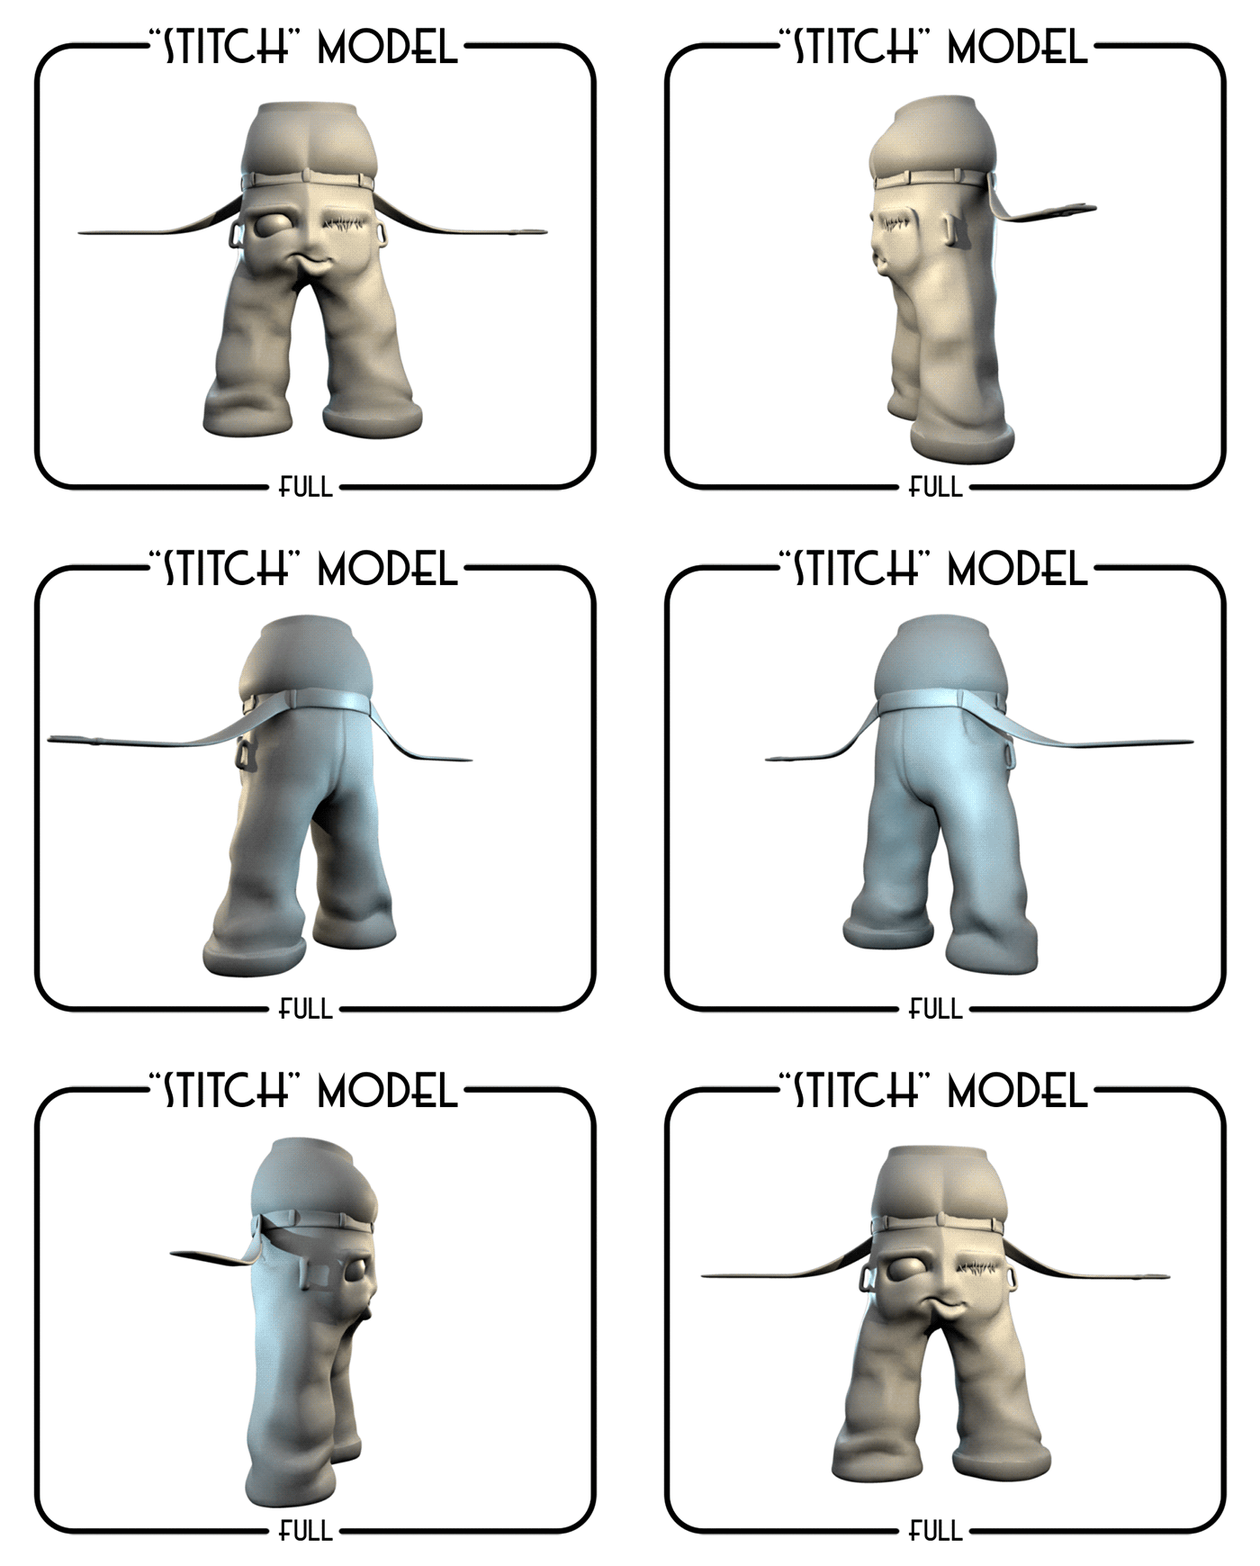
The image above shows the Stitch Saggy at its base level with no detail. Everything else we added to it after this point was all smoke and mirrors as you well know. The core geometry is quite simple but the shape is different to the original Saggy (which we have affectionately named "Bee" for its bumble bee coloured boxers shorts lol). I thought this post should only be about turnarounds so please continue.

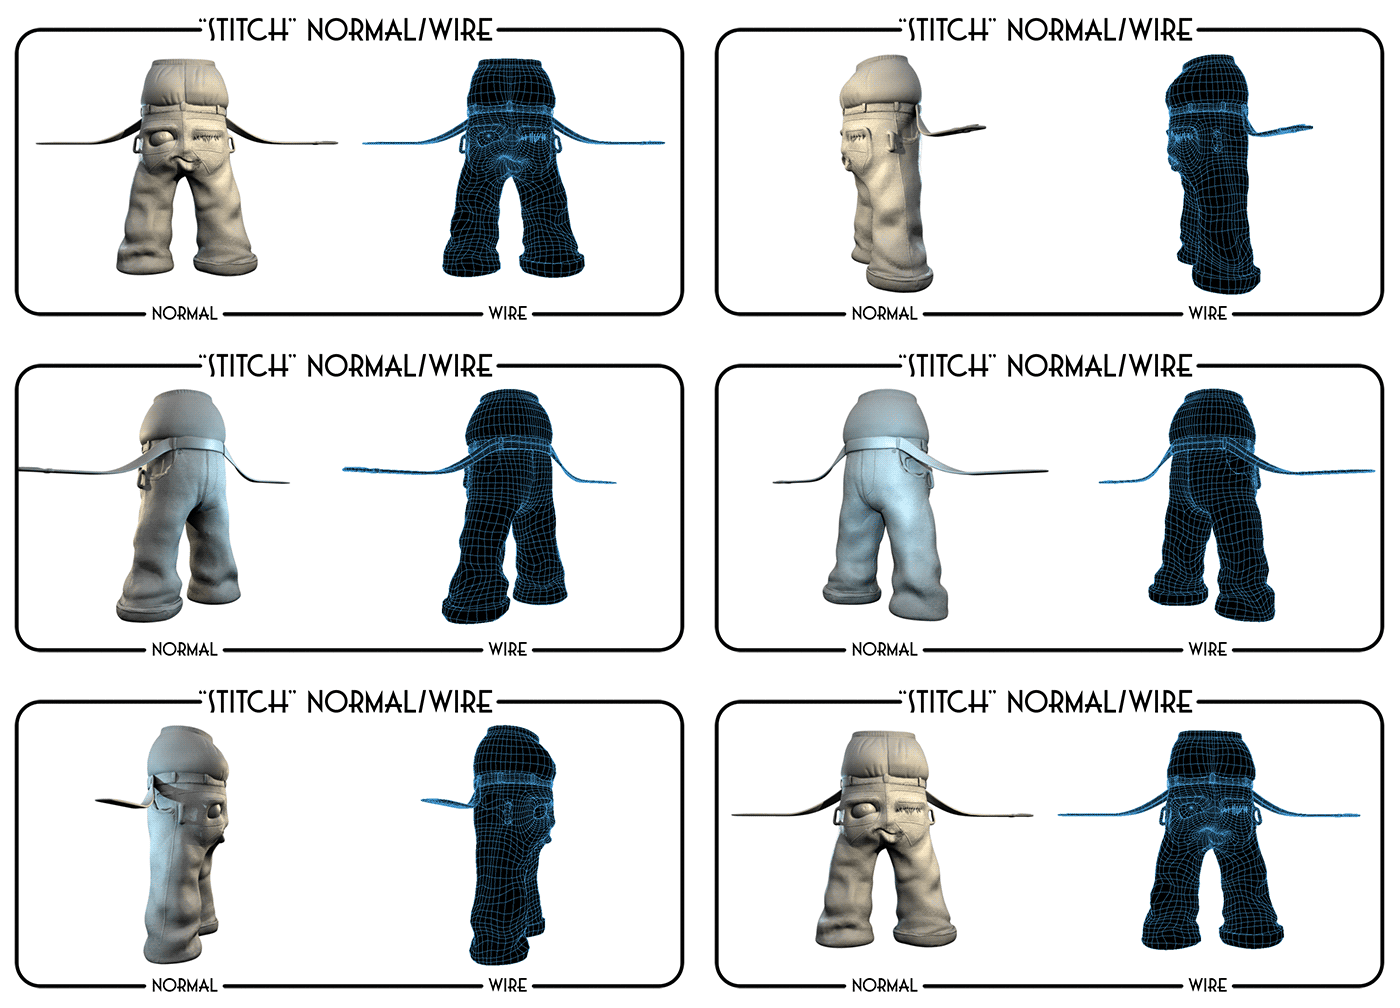
The next image shows the Saggy with its core normals and of course the wire of the model itself. This is there to show that the detail/high details are in fact a texture map. The wire is also there to show the continuity of the model that it is entirely quad and is for the most part has a good flow. I will say once again for the record that these are Ross's adaptations from the original (Bee).

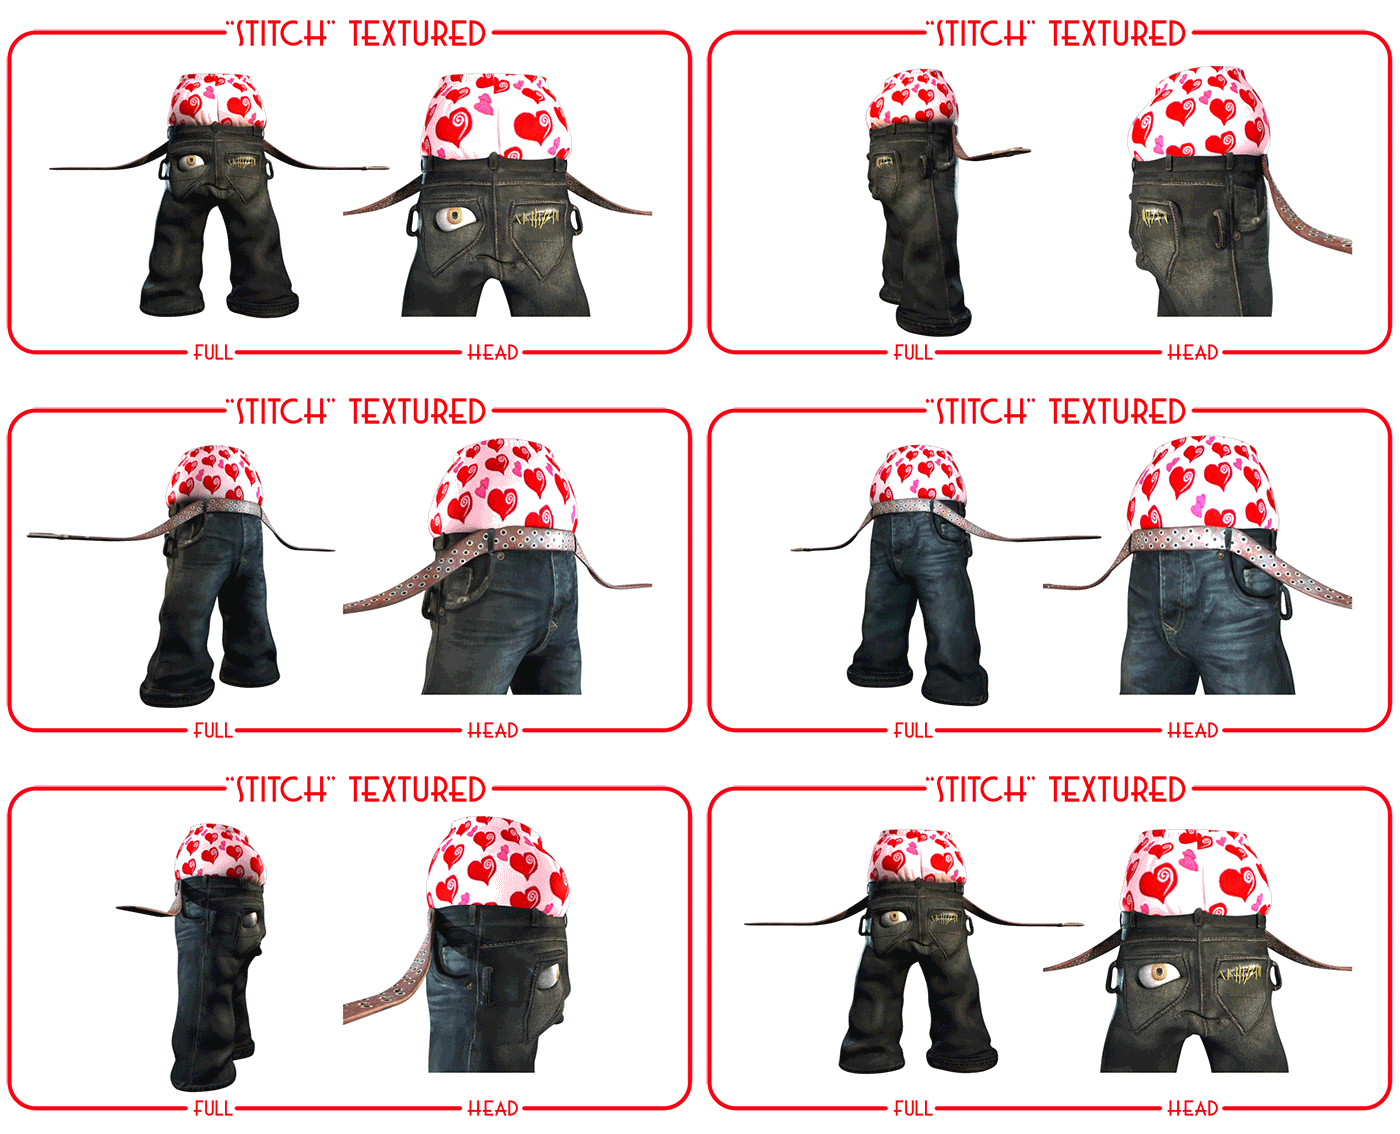
Last but not least is the textured turnaround (and the entire point of the post). This is in addition to the normal maps underneath and in a nicely lit scene. Ross is happy with how he looks and I have to say I concur here. The boxers are probably his favourite part (are you guys trying to say I have a heart? lol). We hope you like how he looks obviously theres only one more to go and the Slinky is coming along nicely.

Please let Ross know what you think as soon as you can.
xXStItChXx