Hey Catherine,
Another quite substantial update... I thought this was going to take longer but I had a good wind tonight so its more or less there... Its perfect for all front end shots (the shots of their faces). I will add a screen and develop the front more (deleting the back wall for the back end (silhouette screen) shots. Ill probably get stuck on that tomorrow... You can probably tell from my email that this has been another late one...
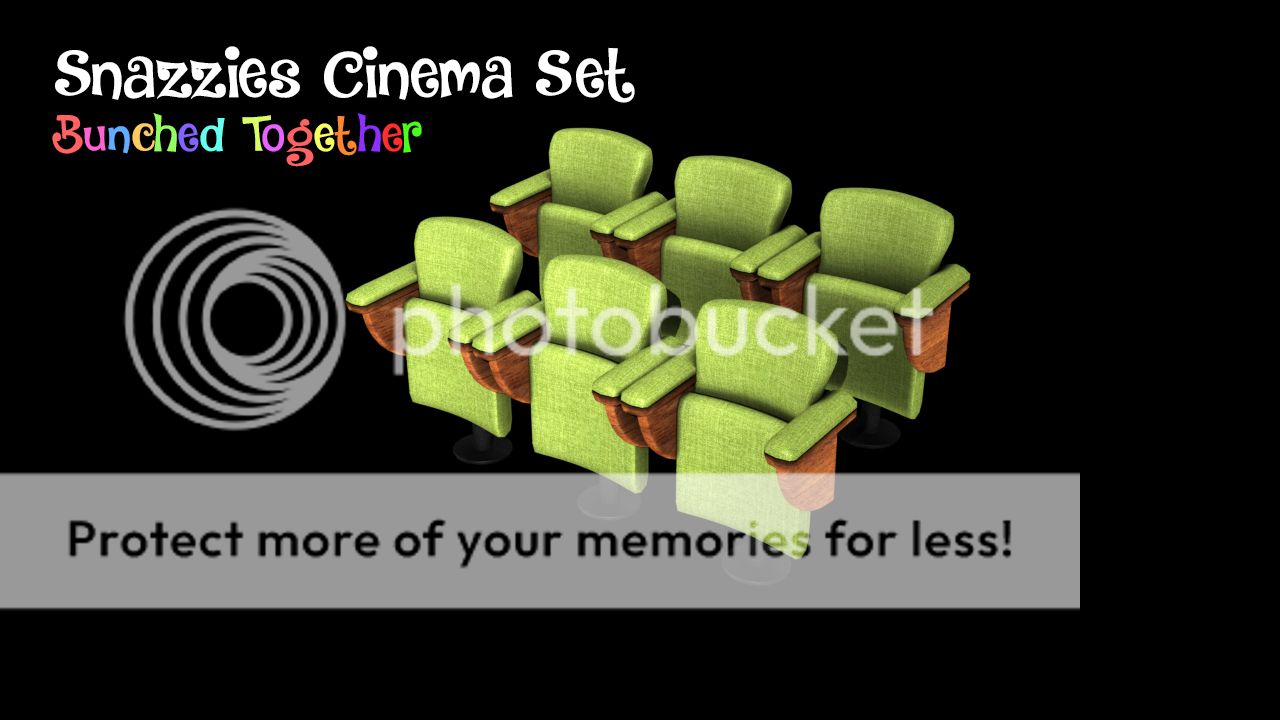
Having not heard back from you about your preferable colour I just dumped in the green ones for now until you have made a decision on the seat colours. Anyway I bunched them together (pictured) the back 3 elevated a little higher then the front (for obvious reasons). I don't think you should need more then 6 chairs we can just pretend this is a home cinema or something... Render times as I said for a big cinema would be longer.
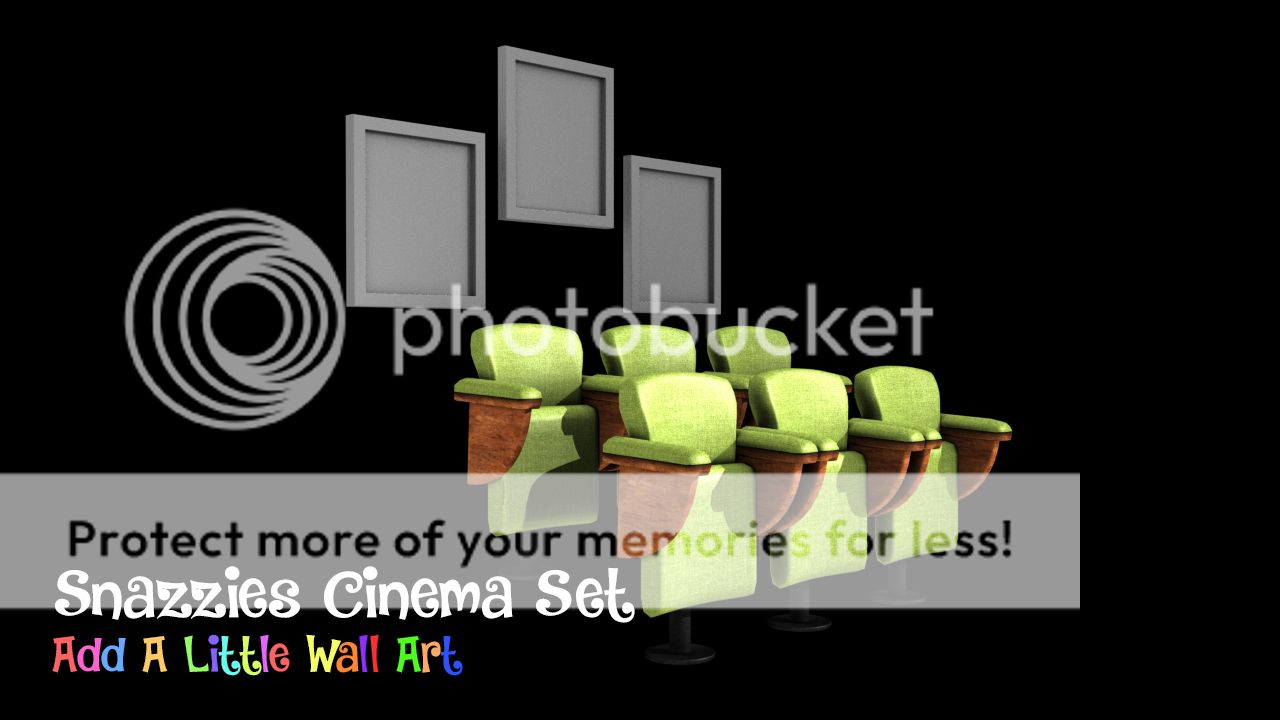
Next I thought id add a little wall art... One of the things you don't want is a bare set. You cant just put these characters in a box if we are to have them quite well lit so we have to consider how the cinema looks around them... I'm not saying we add a loads of things but stuff like skirting boards are so commonly overlooked by people looking to knock together a quick environment... It makes a difference.
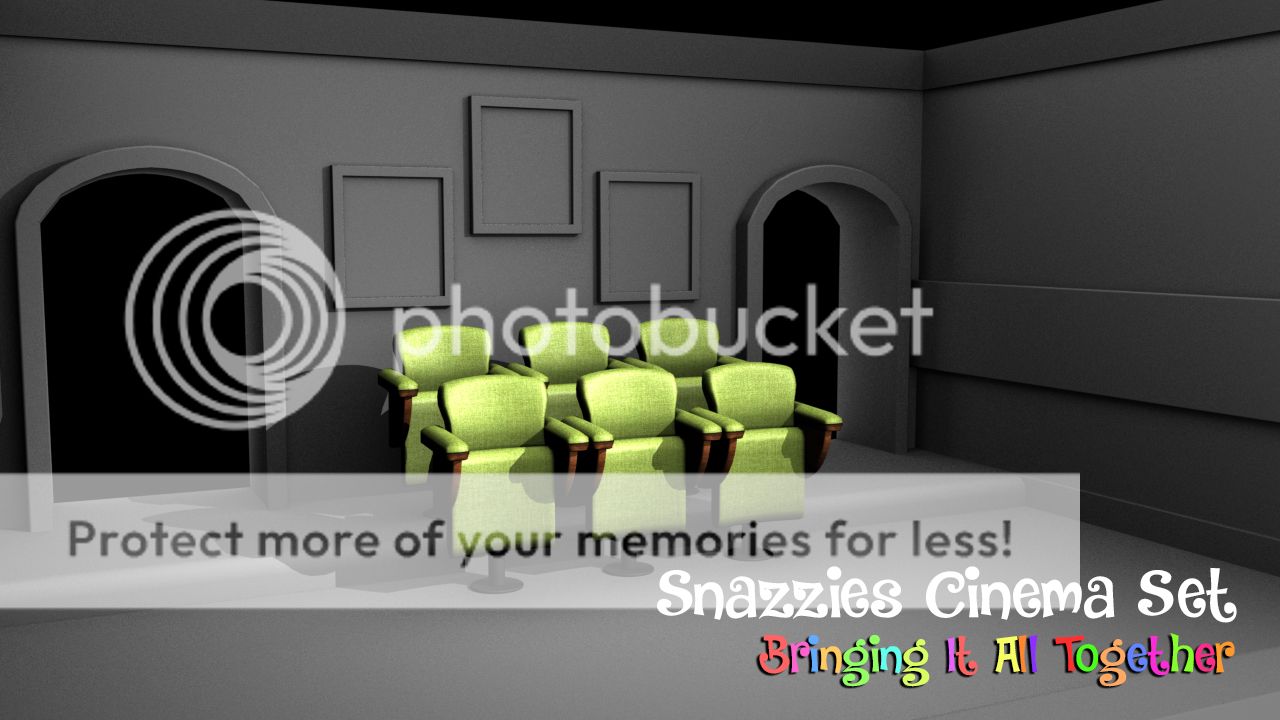
Then we create our set... I built this around the other objects it just made it easier to visualise. As you can see borders around the entrance ways (there are usually 2 in cinemas) I put an upper and lower skirting board just to make the wall a little interesting. I also added a protruding wall feature I imagined its where cables would go but anyway it just makes the scene look less empty. You also have the step that raises the back chairs.
Next we bring it all together (pictured above). We can use the lack of a front screen to look back at the Slinkies as they natter. The roof and doorways can be kept empty unless you want them to be closed but id recommend keeping an open roof... We want as much range as we can get from the front camera. Please also bear in mind that I have yet to texture the set... its lit by occlusion at the moment... Textures will make it better.
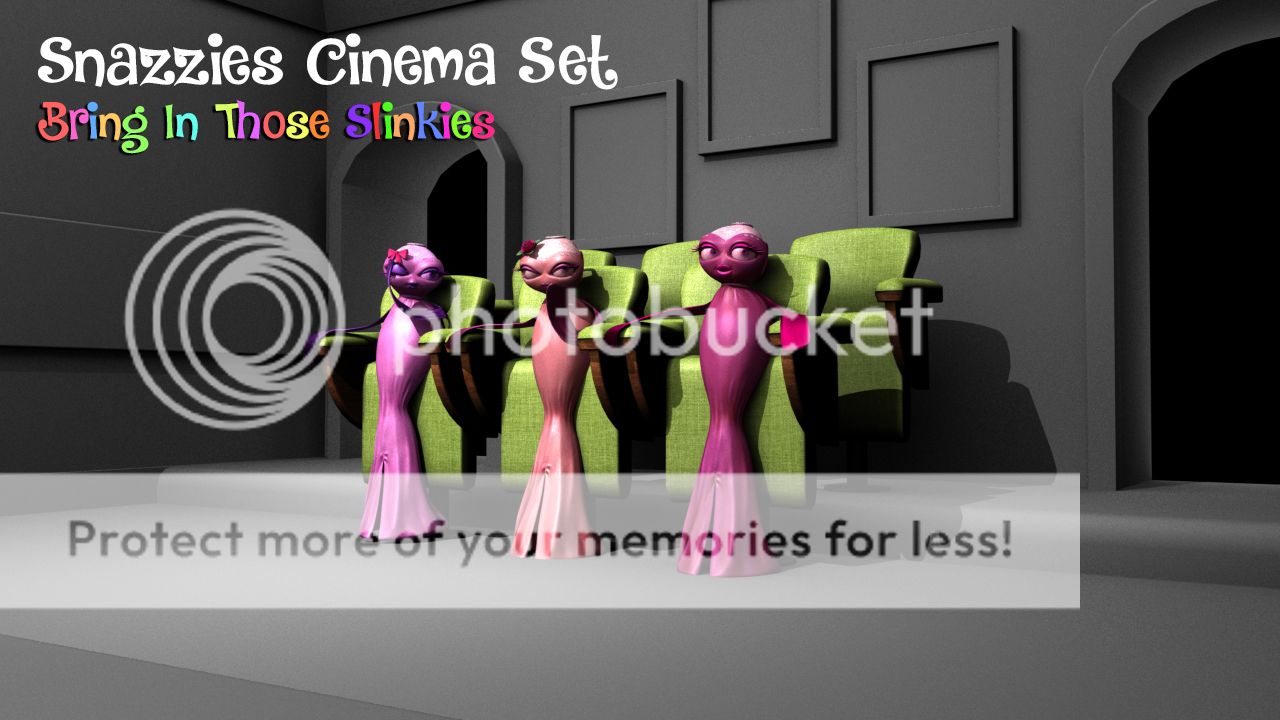
Next I brought in the Slinkies just to see how they rendered with the lighting situated above at an angle... I wanted to try a few shots just to get a feel. I moved the camera to the opposite side of the light so we could appreciate that lovely shadow. It looks really good from more distant shots so maybe that's something to bear in mind. It will look 20 times better once the set is decorated and the wall art has posters in it...
I did a close up render using the same light setting but I wanted to get closer and get my "album cover shot"... Seriously it looks like they are on a bands album cover lol. I think you will agree that its all coming along nicely here. Having those minor details in the background keeps the shot interesting. It will look miles better when we add textures the shot will suddenly come alive. It just doesn't look boring and that's key here.
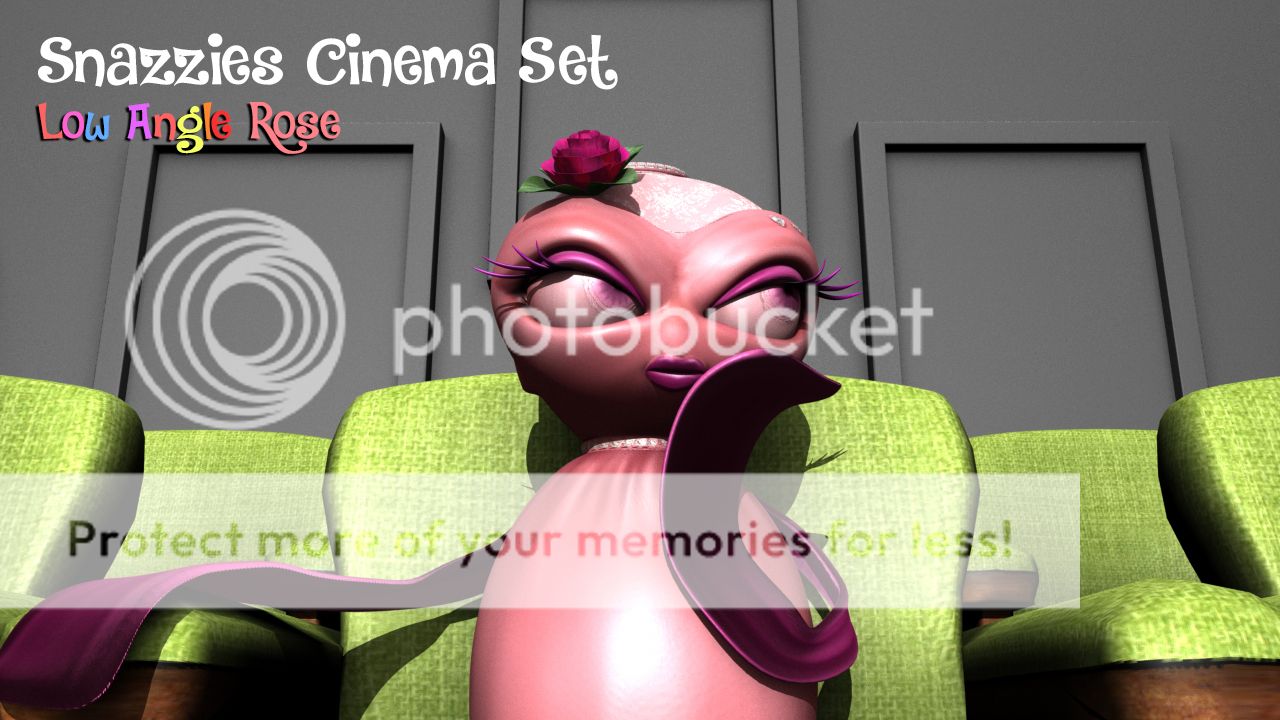
I did a few renders to play briefly with camera angles... The shot above with Rose is on a low angle creating a kind of superior prescience... It also has the awesome feature of kind of showing the pictures behind the Slinkies which is just a nice bonus. I did these just so you can look at the Slinkies one on one really... See if it helps you visualise anymore how you want things to go down. You can think about it while I'm texturing.
The shot with Sparkle is a bit higher not so low more of a close mid angle. Its less superior. If you can be thinking about these things Catherine in case there are any shots you want specifically for certain sections let me know... I know you told me to go with my gut and I intend to but just in case there is anything you were thinking about. The set pretty much allows us to look anywhere because we have nothing to hide.
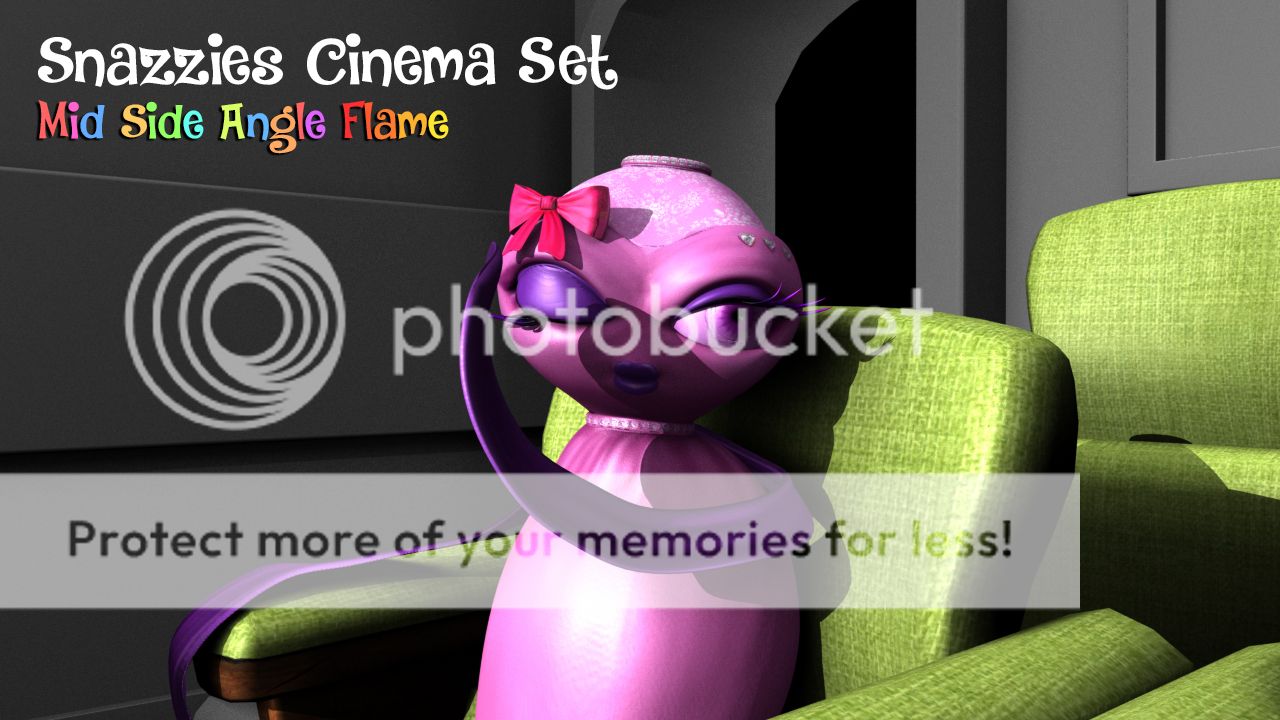
Last but not least we have Flame which due to the angle of per pose I did a mid angle shot across the chairs as opposed to face on like the other two. This again is just to give you an idea of the camera range. It will save on render times to keep it shoulder height but we could probably get away with the odd shot or two. I know you also may want a few of them together and we wont find that out until we kick off a render.
Anyway sorry for the mouthful post but I wanted to keep you apprised...
xXStItChXx


No comments:
Post a Comment