Hey Catherine,
I have another small update for you just so you have further steps into the development process of these characters. Now I'm pretty sure I mentioned the use of normal maps particularly for the Slinky scarf post. That was a more minor use they can be used to add a number of details without compromising mesh flow. In this post I have used normal maps to extrude the pockets and seam surface detail.
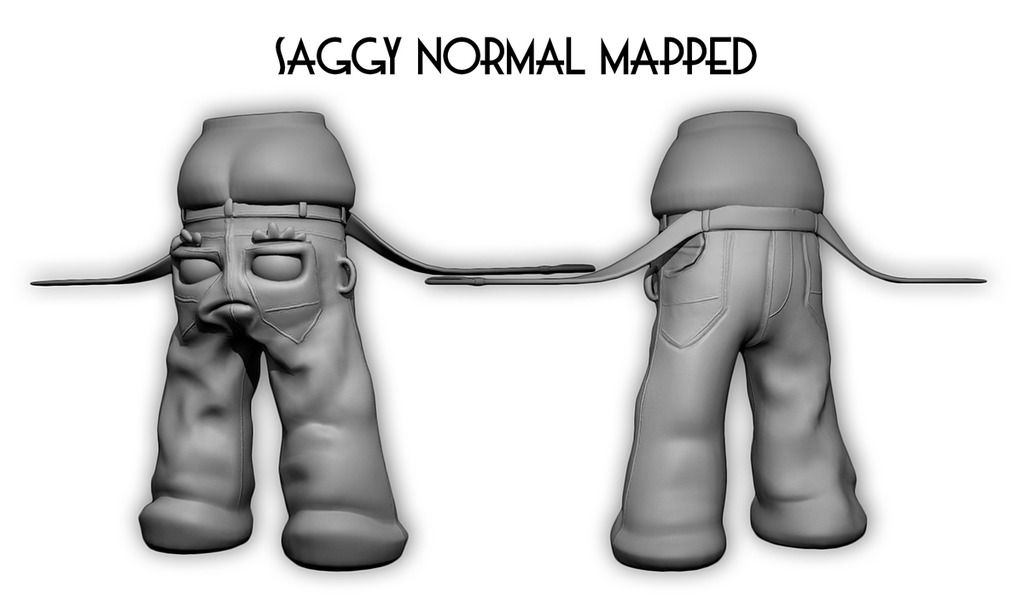
The image above shows the model with seam detail from the front and rear (or reverse I'm torn between calling the back of jeans the front but its his face so lol anyway). I made all of these images quite big mainly because I want you to be able to get a closer look. I plan to add jean sewing texture to bump the mesh a little as well as add your rips going forward. That's next anyway.

The image above shows the model rendered in ZBrush and the resulting normal map which I use to add the surface detail to your mesh in Maya (our animation package). It creates the illusion of surface detail on lower polygonal meshes and makes things just generally look better without adding a chore for your animators/riggers/etc. I think you will agree its starting to look really good!
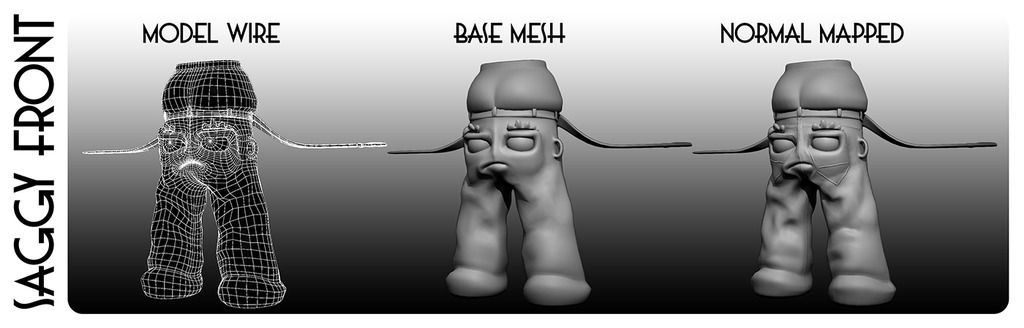
The image above shows the model in Maya rendered in wire (to show the edge flow of the model), basic (to show you the model without the normals) and normal mapped so you can see the differences between everything. Like I told you its always a smarter way of working if you can get things looking good with less (this is what I meant) low polygonal counts make things much easier performance wise.
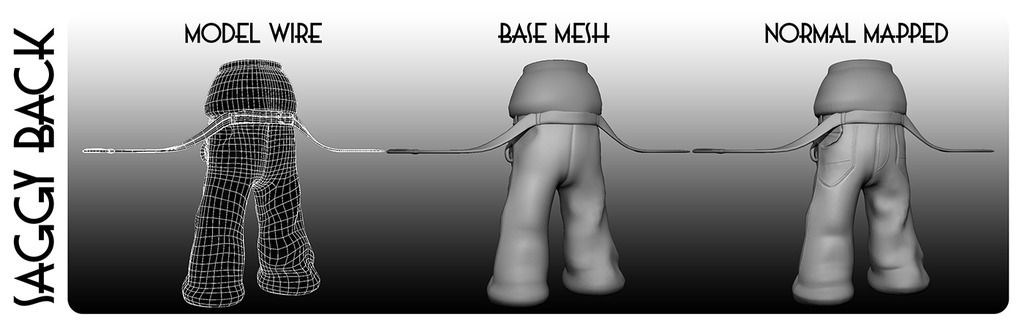
The next image shows the reverse side of the model like I said none of this is etched into the model the map tricks the rendering engine into creating light and shadow which is not in fact on the lower polygonal version of the model. These normals are drawn from the higher model in ZBrush and then exported via map and plugged into a bump channel within the model texture.
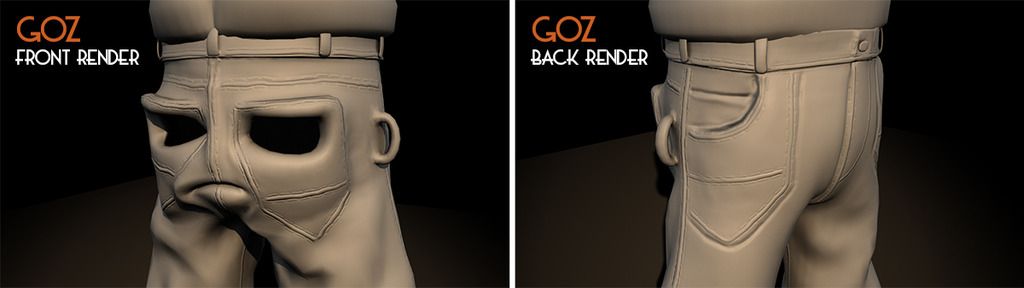
Now the GoZ images are just to show you the a close up of the detail. GoZ was actually what I used to quickly port the model into an active scene. I probably won't do this when I export the final version just because it can leave a bit of a mess in the scene. Ideally you want to keep scenes clean to avoid any unnecessary lag, for characters you want everything to be clean so they can easily be added to another scene or environment.
I will post the final details tonight hopefully
xXStItChXx

No comments:
Post a Comment